I haven't posted on here in a few months. My family life has become extremely busy these last few months with preparing for the birth of our second child, different odd jobs around the house, a basement flood, a few repairs to my Focus and then finally, the birth of our second little girl this month. So my garage life has taken a bit of a hiatus up until about last week where I was able to sneak out there for a few hours each day while our 2 year old napped. I have started to get my engine parts together and organized and have started performing some pre-assembly measurements and checks on the engine.
At one point I had decided that I was going to leave the building of my 454 big block build up to the machine shop that performed all the maching work to the block, but have actually decided recently that I am going to build it myself. I have wanted to do an engine build myself ever since high school automotive class where we were given the oportunity to tear apart an engine and put it back together. I keep on telling myself that you only live once so why not do the things I want to do. With the amount of research and books that I've read so far on building engines I am fairly confident at this point in doing the job myself. I will try and explain myself the best I can on here during the process.
The first thing I did before I even touched any of the engine parts was tidy up my garage. It was a disaster! so after a couple hours I had the garage to the point where it was tidier and I had a little more room to work on my benches.
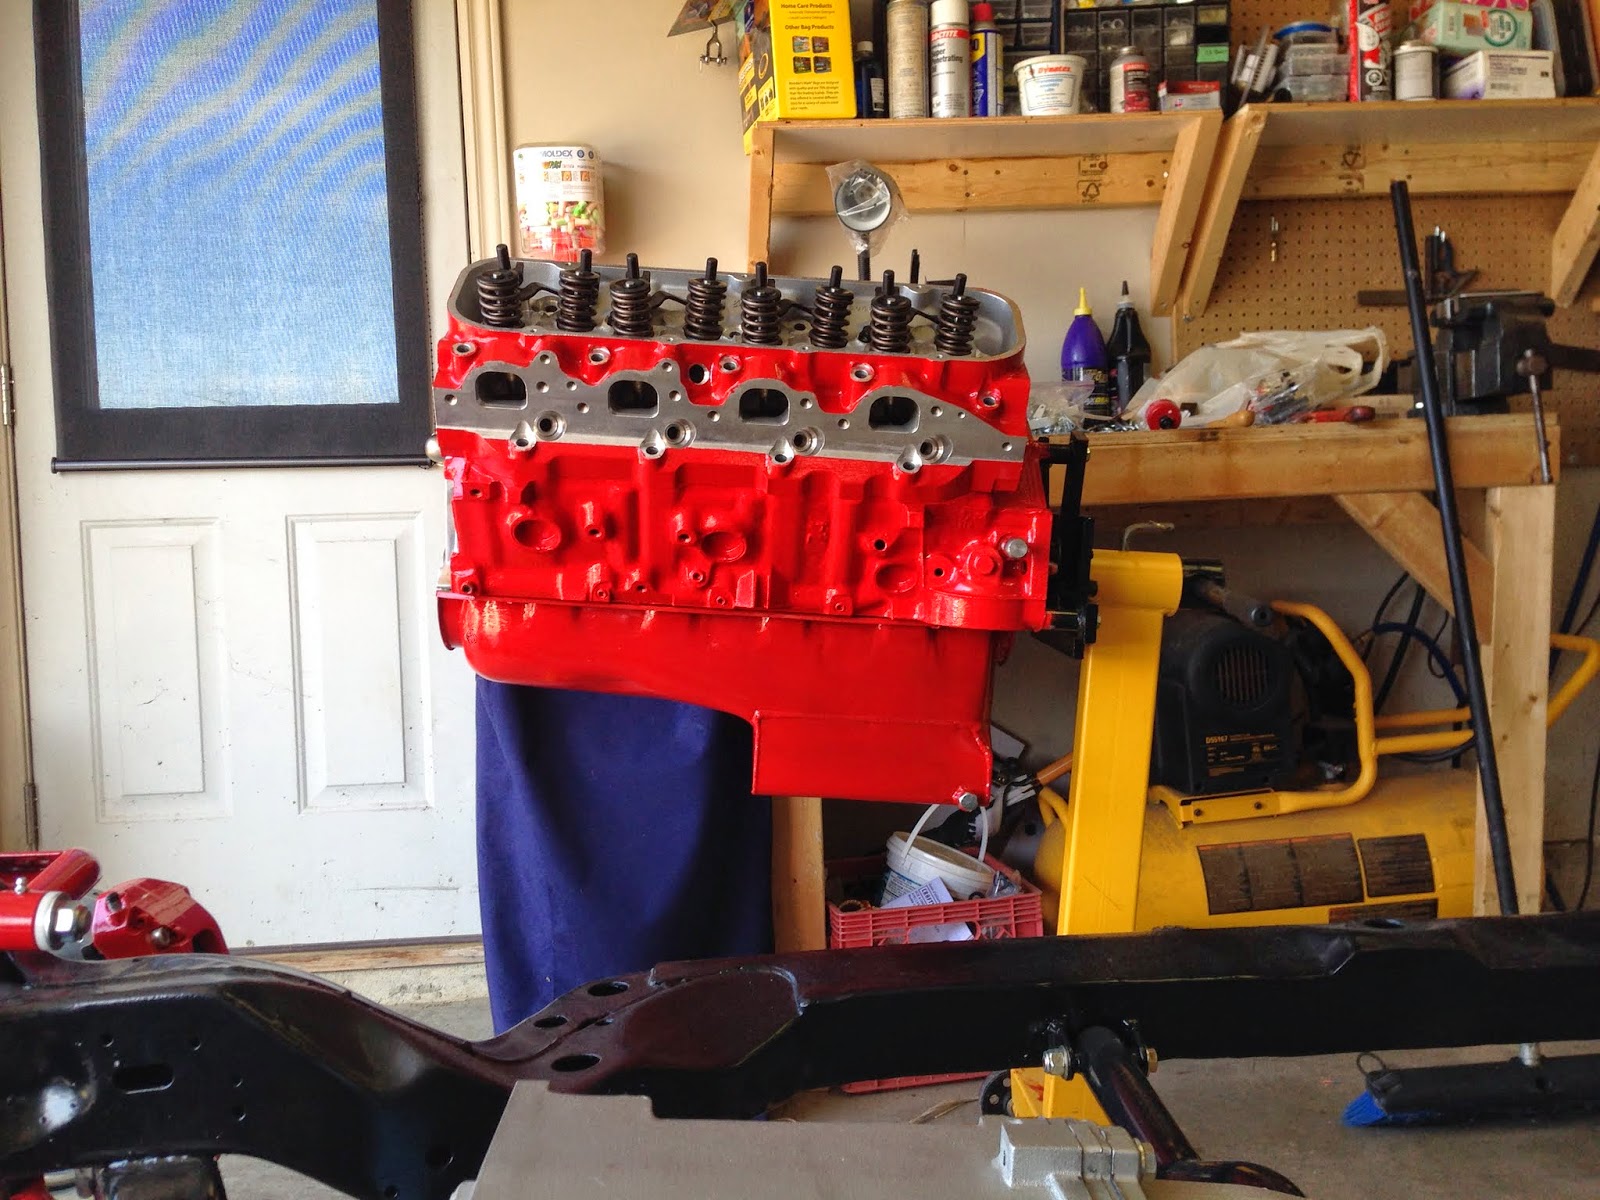
A couple years ago when I just had the engine block my plans for my chevelle were a little different. I have since changed some details of my build. I had originally painted the block Chevy orange. I have now decided I want the block to match the colour of my brakes and suspension. so after a few different paint colours I found a engine enamel in a red colour that is almost a perfect match. It ended up being POR 15 engine enamel in "Ford Red", so I officially appologize to the die hard chevy people out there for using this "Ford" colour. I have a Ford Focus and a Ford Escape out in the driveway so I have no problem with tossing a little Ford into the mix.
Here is the block before the Red
I sanded the whole block and oil pan with 300 grit sandpaper to help the new paint adhere better. After I masked off everything I didn't want to be red, I started laying down some of the new colour. I really like the POR 15 paints. I could apply with a brush and it still drys perfectly smooth, and rock hard.
Some people may ask "why did you paint your aluminum heads!" well I had seen this done while looking at other peoples builds and I liked the look..... so that's why. I'm glad I did it because, I'm very happy with how it turned out.
After I had let the parts dry I took it all back apart. Next, I waited for a nice day, took everything out into the driveway and gave it all a thorough cleaning. I used a mixture of laundry detergent and water and scrubbed everything with a variety of brushes. I used a toilet brush to scrub the cylinder walls, don't worry it was brand new, it worked well. I did all this cleaning as fast as I could while making sure to keep the block wet at all times because the freshly machined surfaces are VERY prone to rusting very fast. Once the cleaning was complete I sprayed everything down with WD-40 while also using my air compressor to blowdry the block. Once I was confident the block was dry I rubbed the cylinders down with ATF to keep them from rusting. I covered the block up with a clear garbage bag.
Here is a picture of it all cleaned and sparkling. Now I can start on the Pre-assembly measurements.


No comments:
Post a Comment