I haven't posted on here for awhile because I haven't really done much out in the garage in the last few months, I have just been reading books on engine building and building up my parts inventory for my engine build. Well I can say now that I have almost all my parts for the engine. I am just waiting on spring weather to start on the engine build. My garage is not insulated (going to insulate it this year) so it is VERY cold. I didn't think it would be a good idea to make measurements on the engine and parts in this cold weather as this can throw the accuracy of my tools and measurements off.
In this post I'll show some of parts that I will be using for the engine build.
Here is the block a few years ago when I bought it. The only work that had been done to it was the cylinders were bored out to match the pistons that I purchased with the block. The block was bored 0.030" over. 454 block bored 0.030" makes this a 460 cubic inch beast!


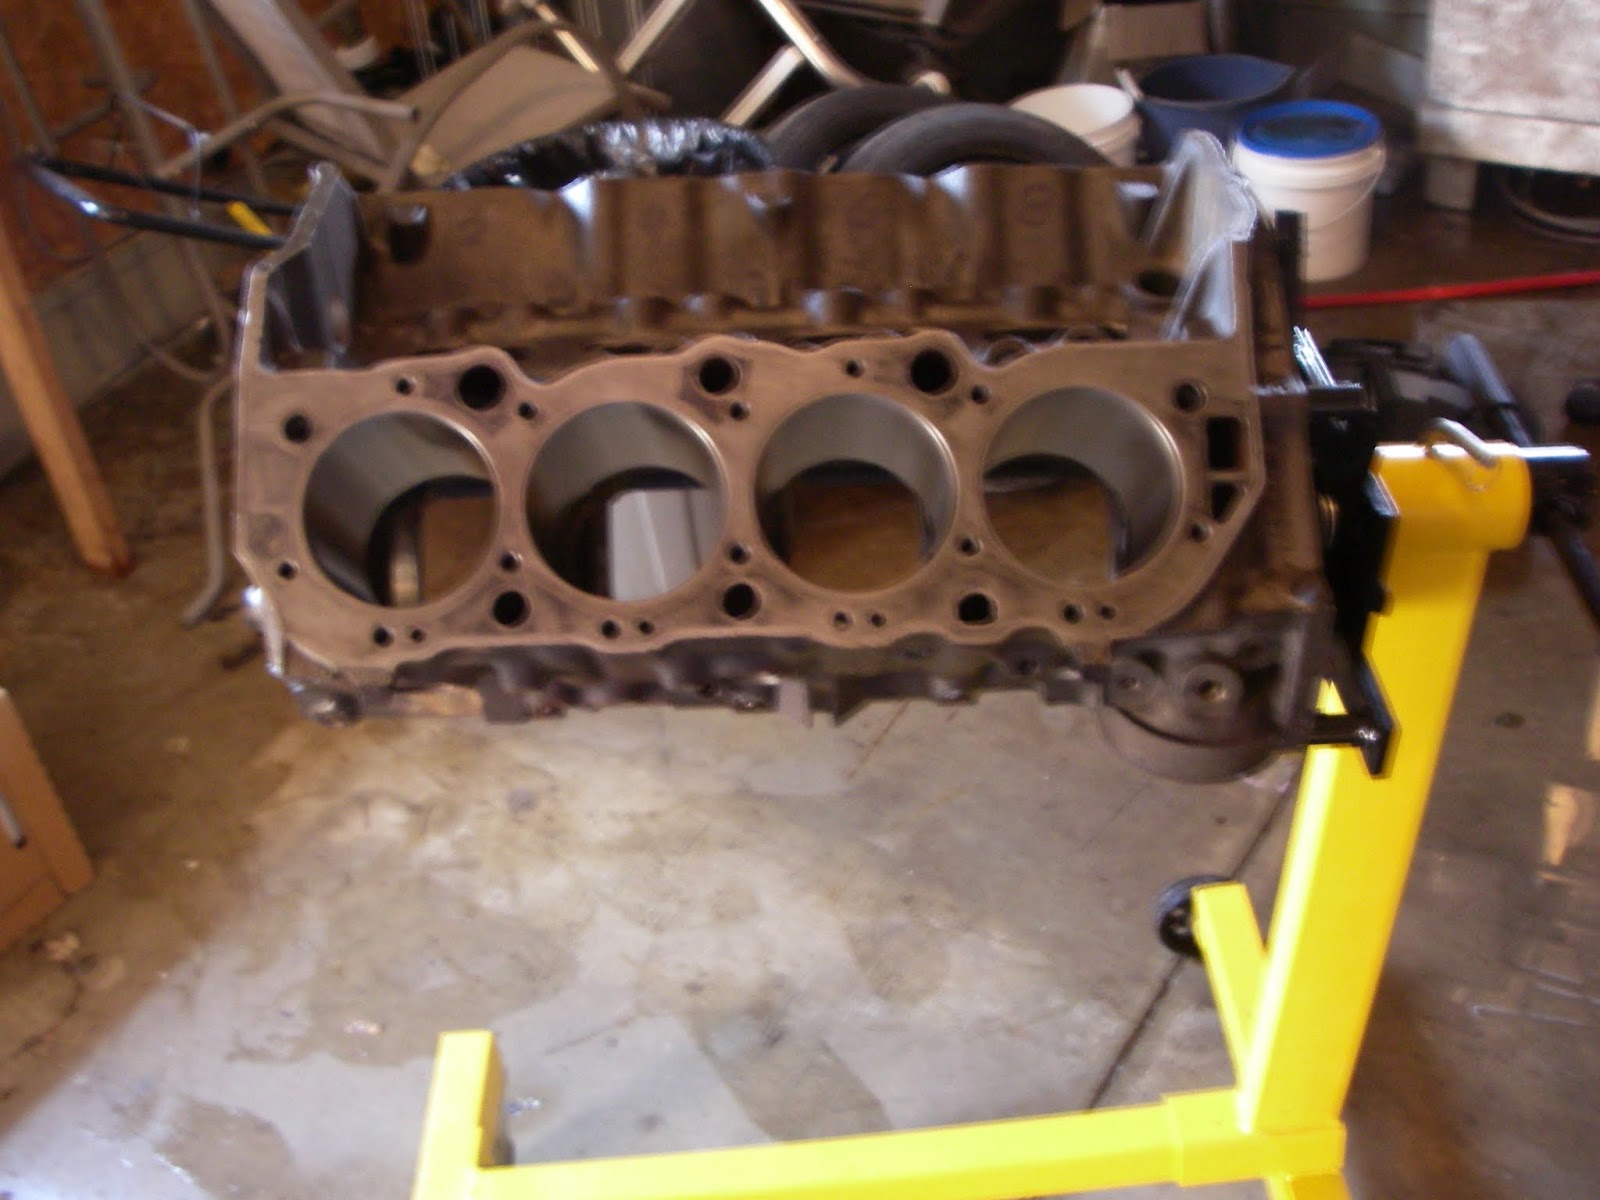
I brought my block and rotating assembly into Atchison Machining in London, Ontario. Here I had them look over everything and do whatever was needed to get it ready for assembly. The Block, Crank and Rods were all magnafluxed. This checks for cracks/flaws, and everything checked out good. The block was decked to clean up the mating surface between the block and heads. The main journals were alignhoned to make sure they were perfectly straight. The rotating assembly (Crank, Rods, Pistons, Flywheel, Balancer) were all balanced. The crank was ground down .010" on the main journals and rod journals, to clean it up and get it in spec. When I got it home I painted the block "Chevy Orange" with POR15 paint. I am actually going to repaint this Red to match the Chevelle's suspension and brakes.


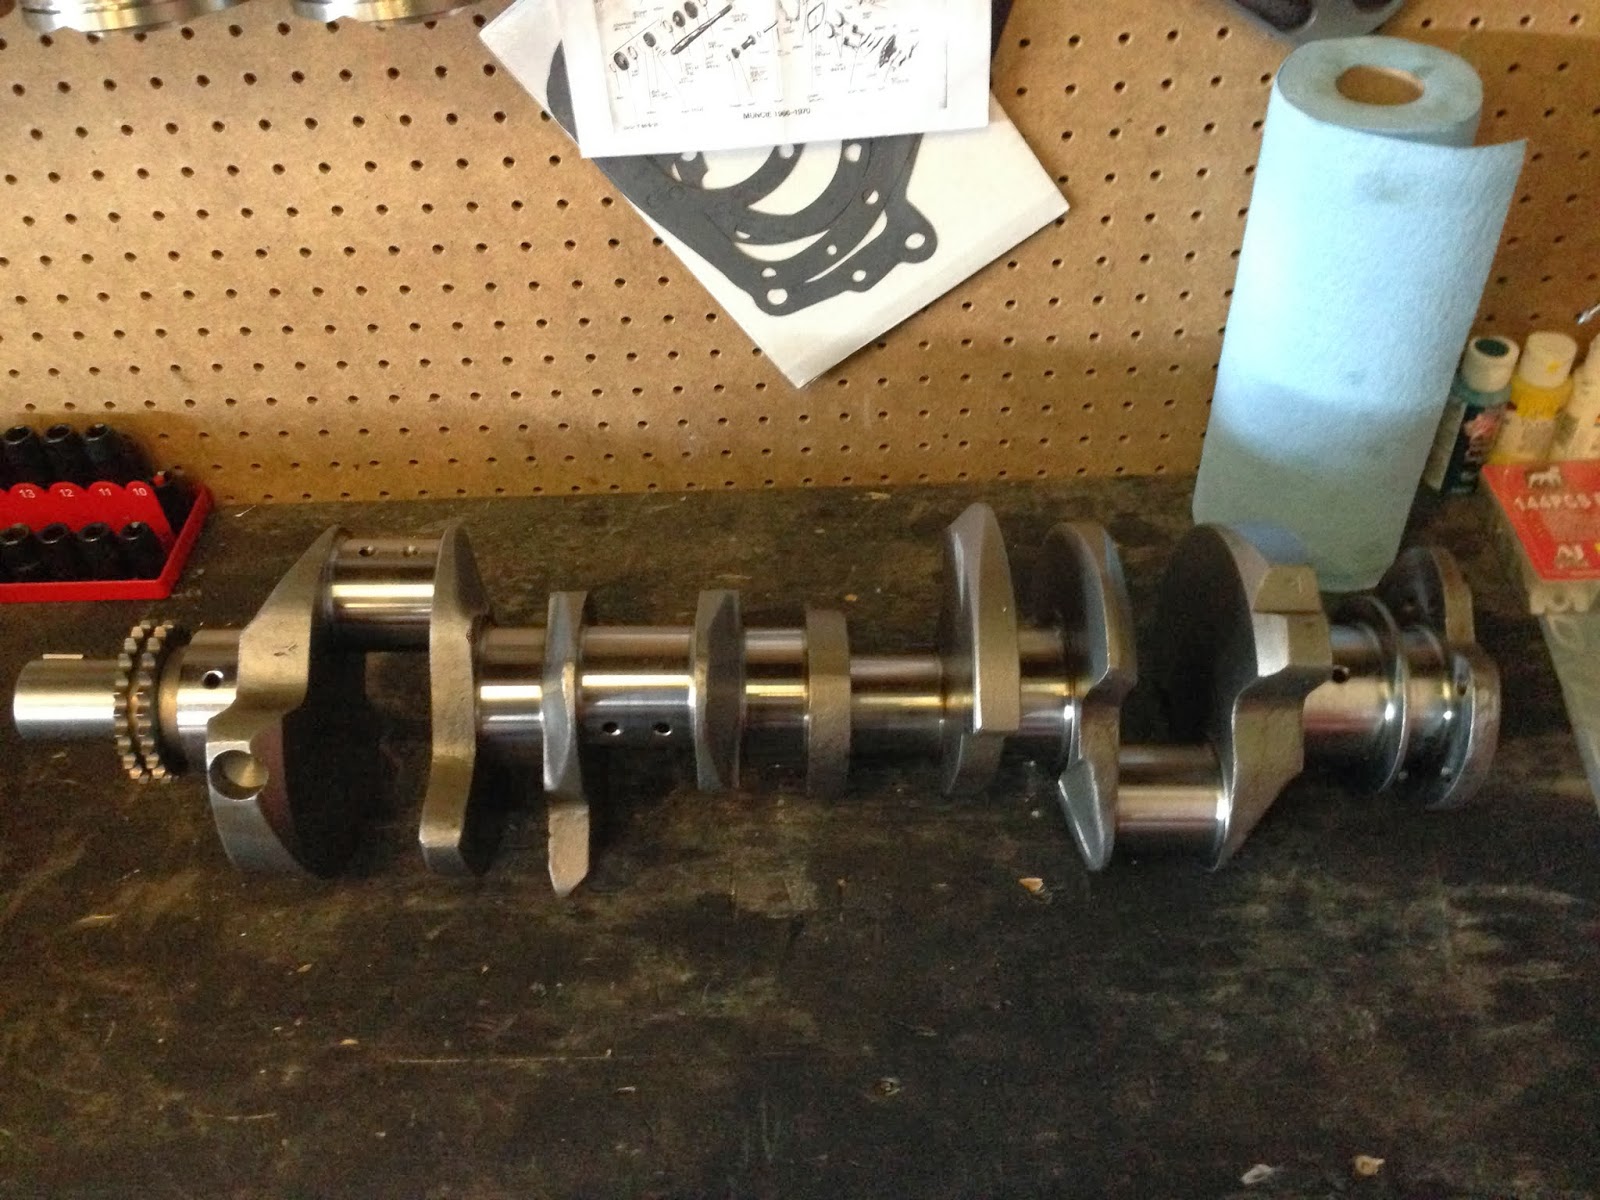
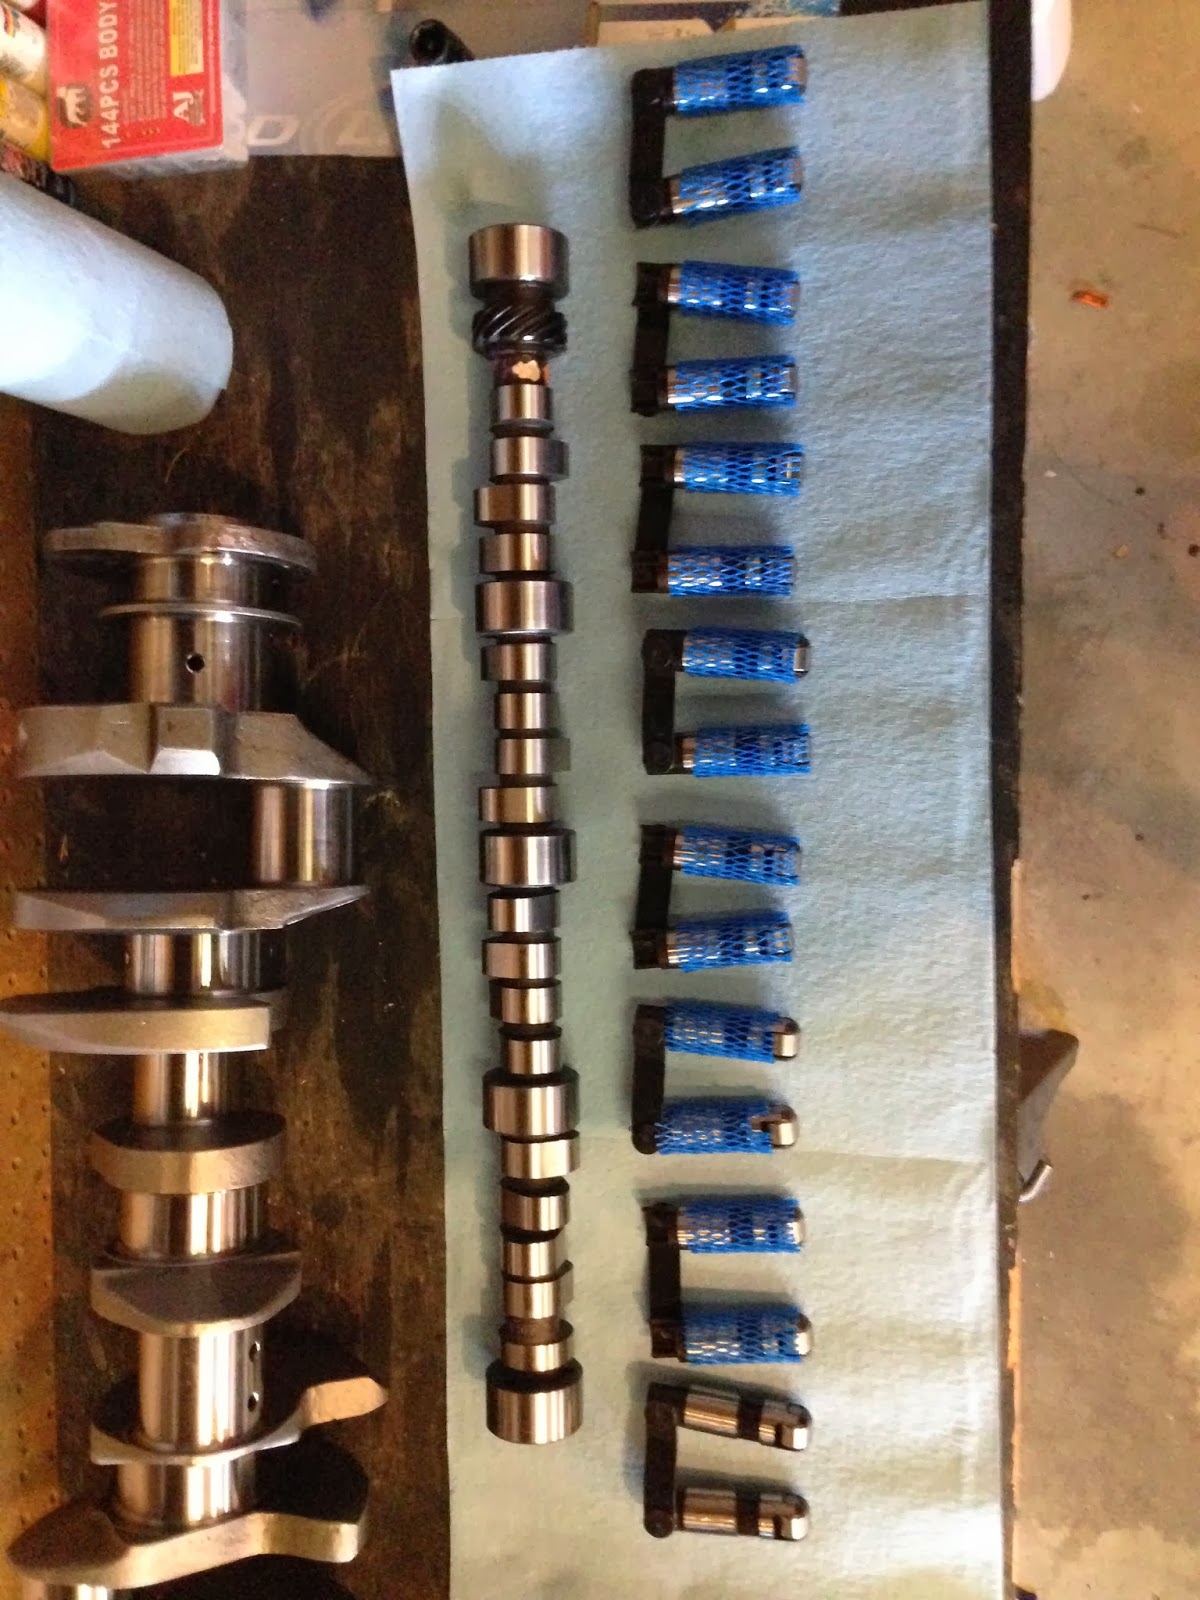
This is the Eagle forged crankshaft. The crankshaft being forged is a little overkill as this motor will never see the horsepower levels that justify using a forged crankshaft, but I purchased it used along with the rods, balancer, flywheel, bearings. so it came with the package, and it just sounds cooler doesn't it?.....
All the journals were ground 0.010" to clean them up.
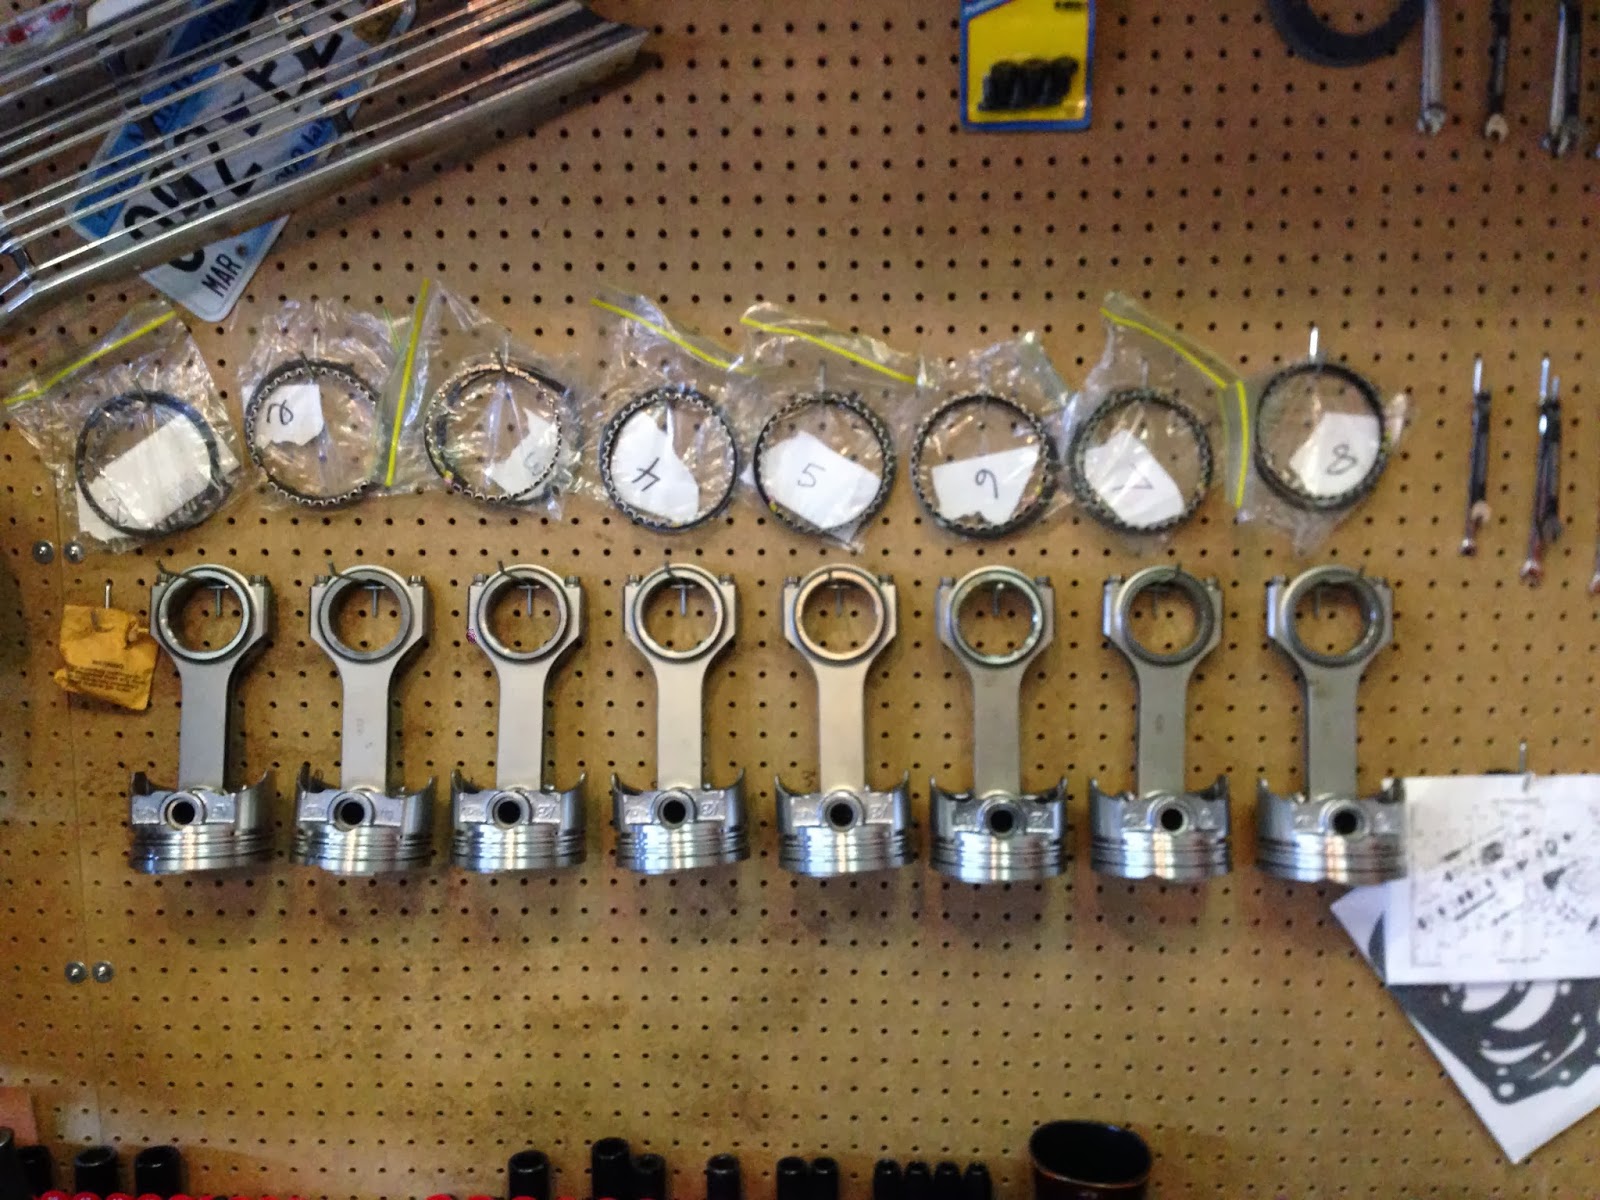
For the connecting rods I got my hands on some Eagle forged H beam rods. These rods are the stock 454 length at 6.135". They have a floating wrist pin, which means they aren't pressed onto the piston, but are held in place with spiral locks.
The Pistons were purchased along with the block because they were machined to match the bore in the block. They are Keith Blacks 0.030" overbore hypereutectic aluminum pistons.
For piston rings I got a set of "file to fit" speed pros. I placed them in each cylinder one at a time and filed them to get a top ring gap of 0.028" and 2nd ring gap of 0.018"(I will double check these before final assembly), these were the gaps that were recommended to me from Keith Black. Each set of rings were bagged and labelled for each specific cylinder.
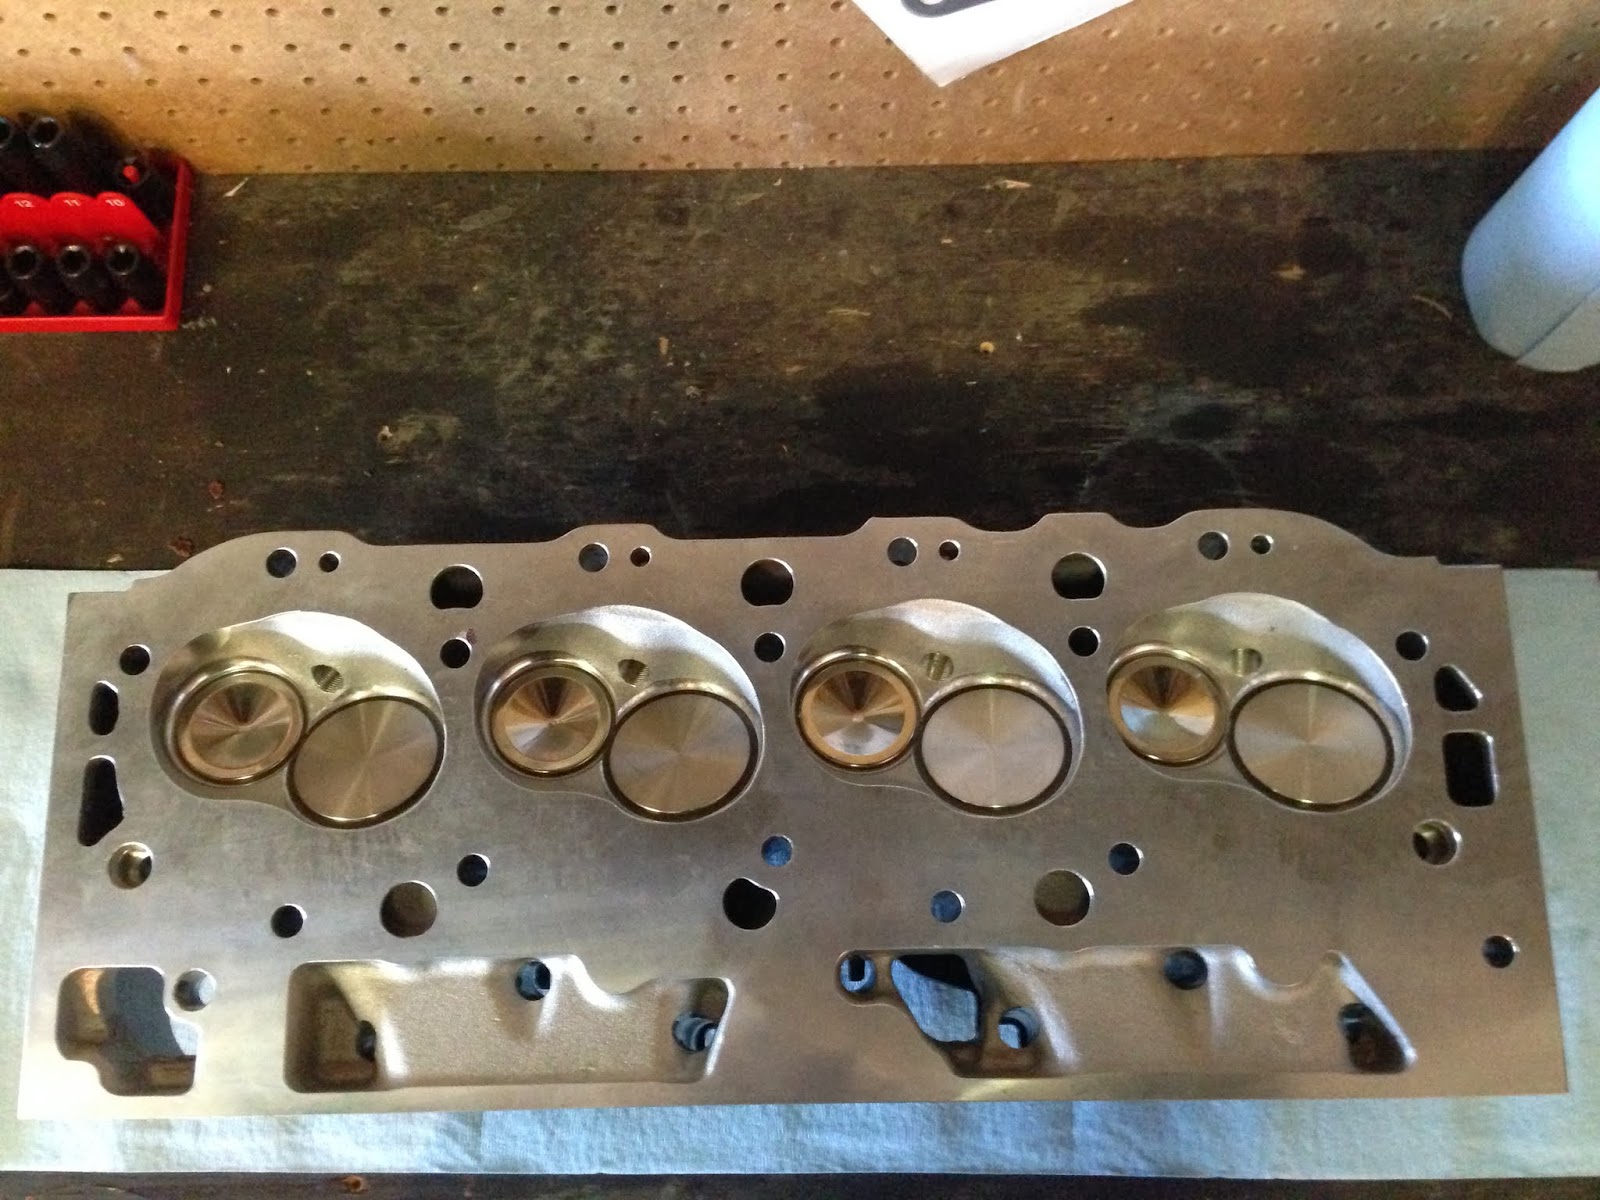
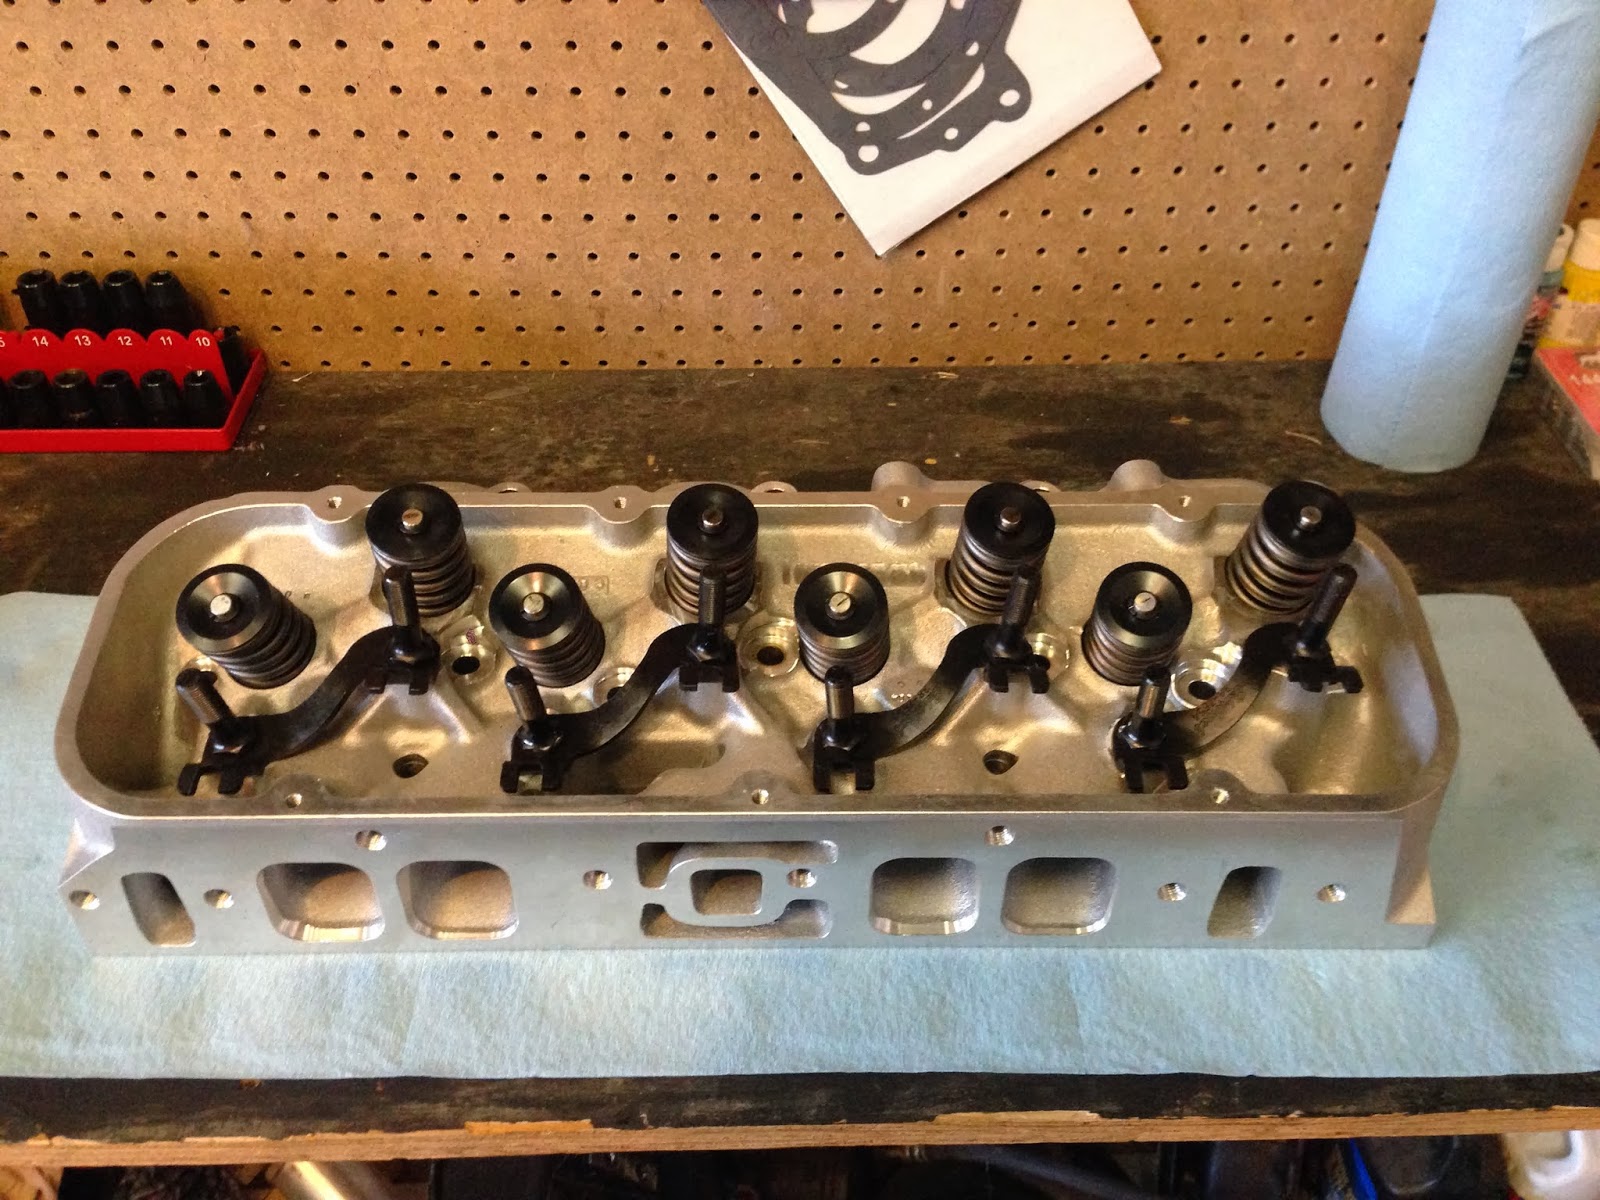
For cylinder heads I got a set of Edelbrock Performer RPM's. They came preassembled with valvesprings, and 2.19" intake and 1.88" exhaust valves. I actually ordered the wrong heads. These heads were set up with valvesprings for a hydraulic flat tappet camshaft. To fix this I sent the heads into the machine shop and they installed shims which brought the spring pressures into range for a hydraulic roller camshaft. I'm very glad that I caught that mistake as that error could have caused major problems down the road.
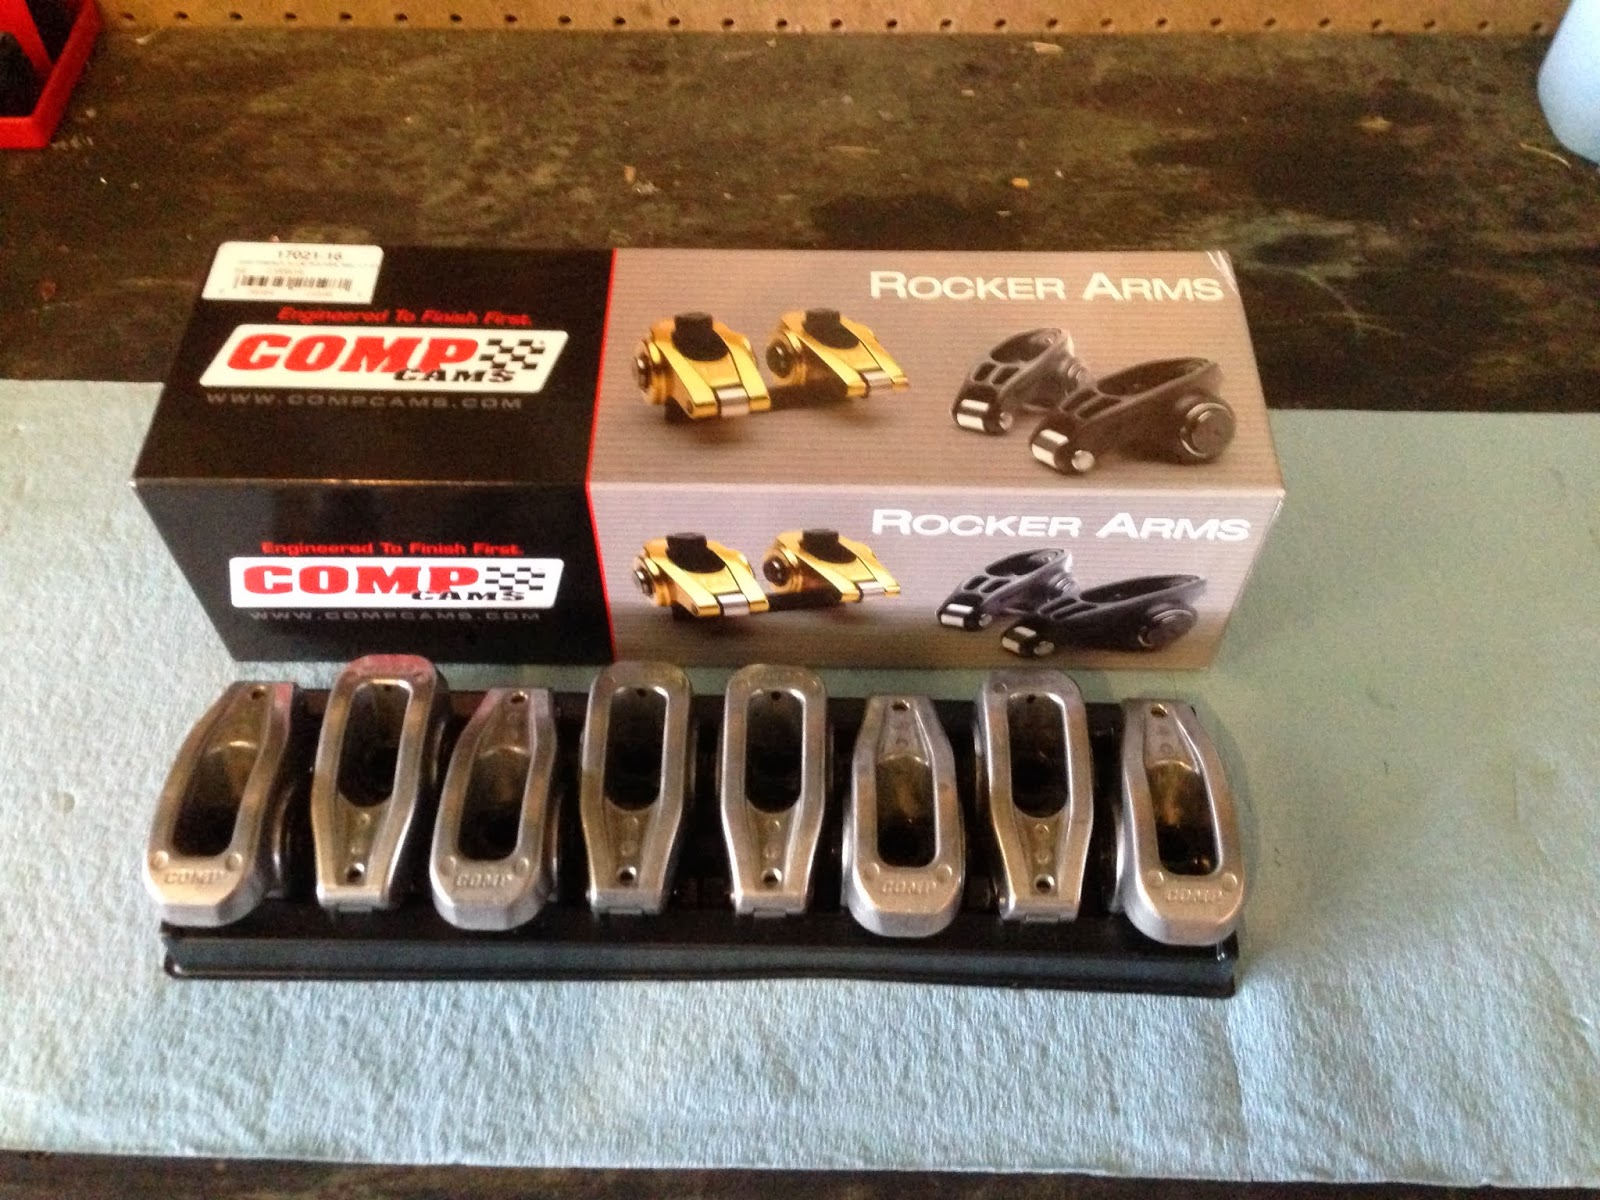
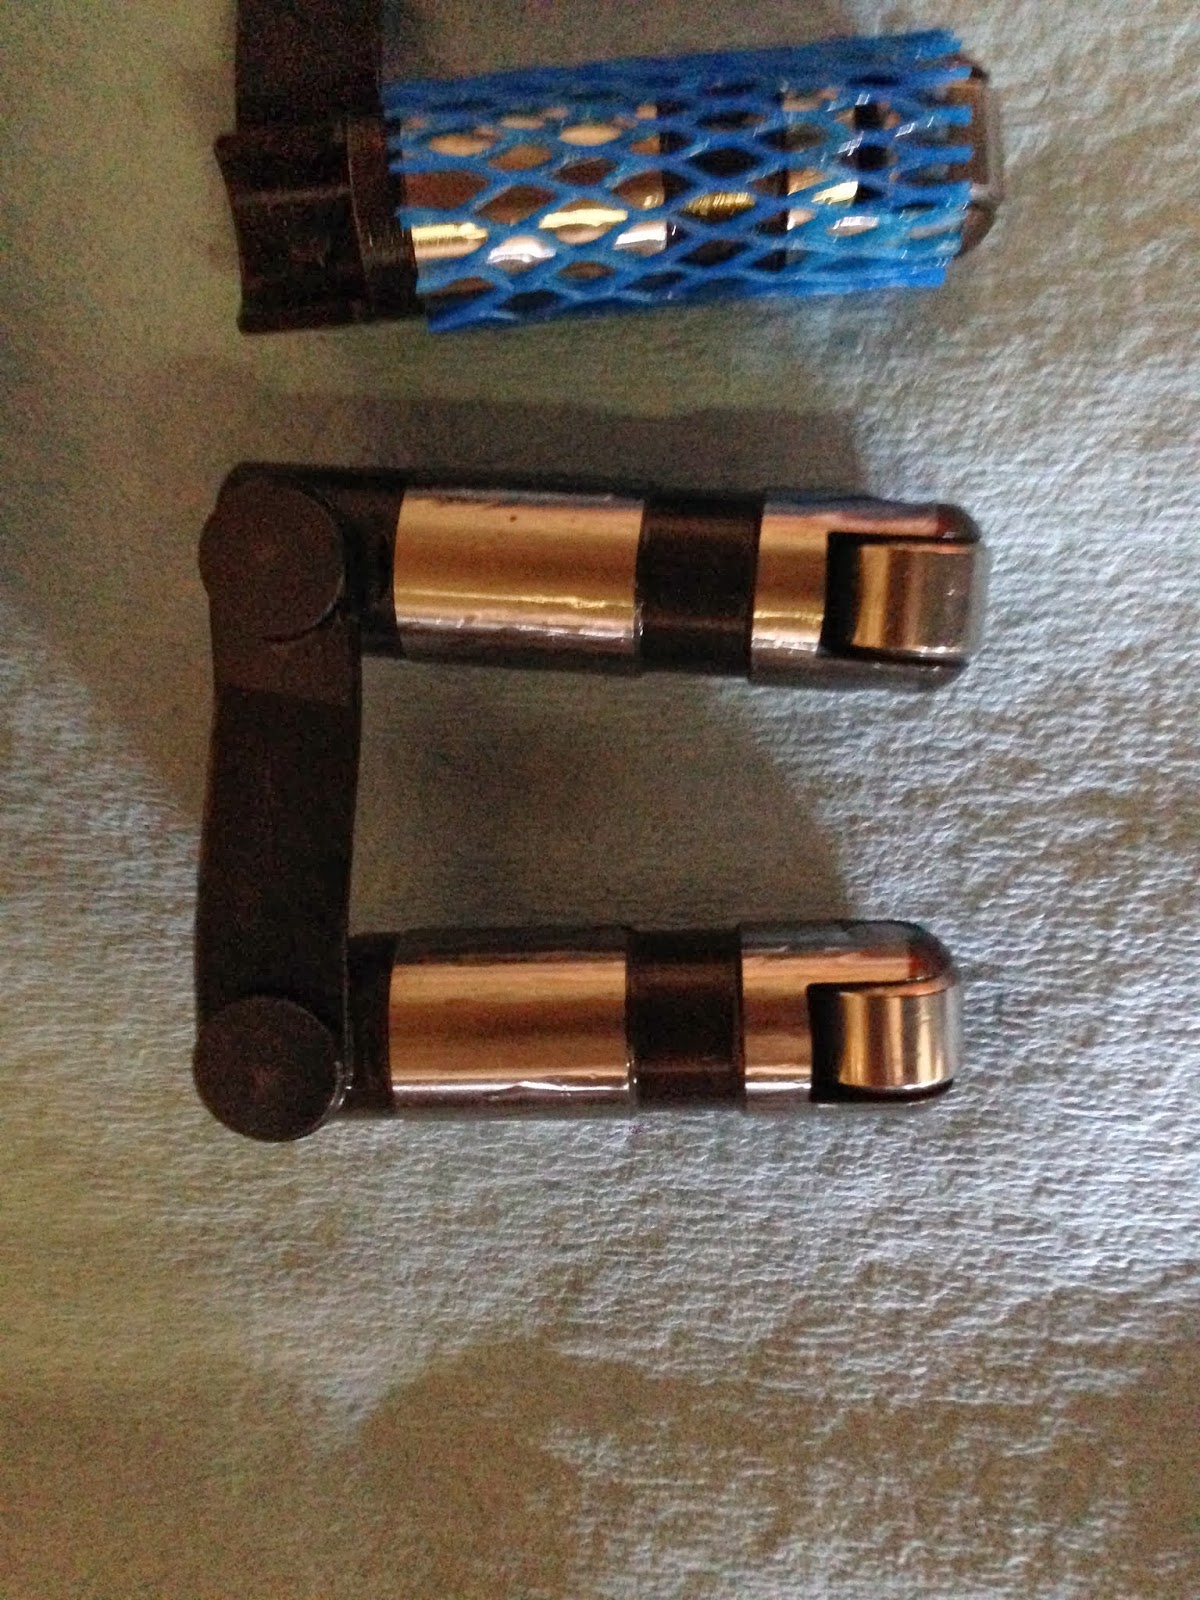
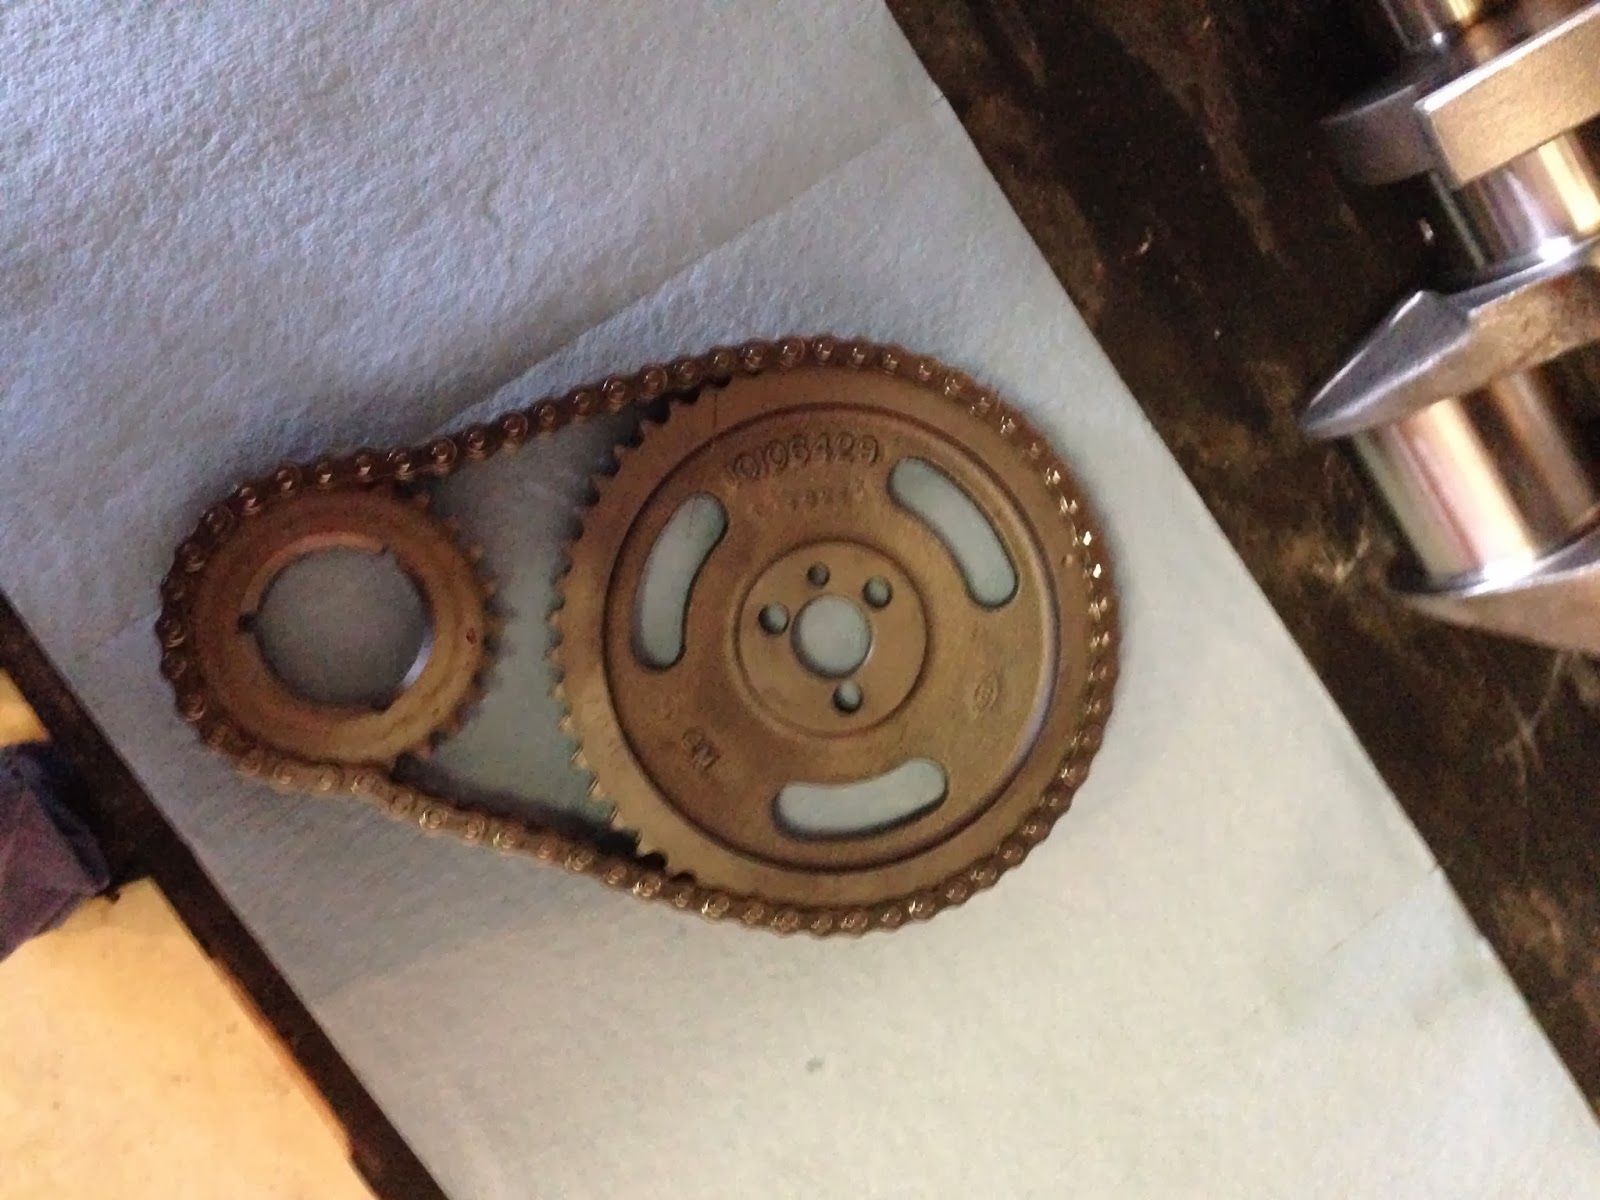
For camshaft I picked up Comp Cams XR294 hydraulic roller kit. This kit included cam, hydraulic roller lifters and double roller timing set. This cam will make plenty of power in this engine.
During the last few months I've also been building up my inventory of engine building tools. I got myself a dial bore gauge, this will come in handy with measuring bores and clearances. I got myself some micrometers. I got myself a magnetic base with a dial gauge. I also got myself a new tourque wrench.
I also placed an order with Summit Racing for some more parts last night. I will have another post when I get my package.