Saturday, December 14, 2013

Rear Suspension

Today I was able to finish installing the rearend and suspension on to the frame.


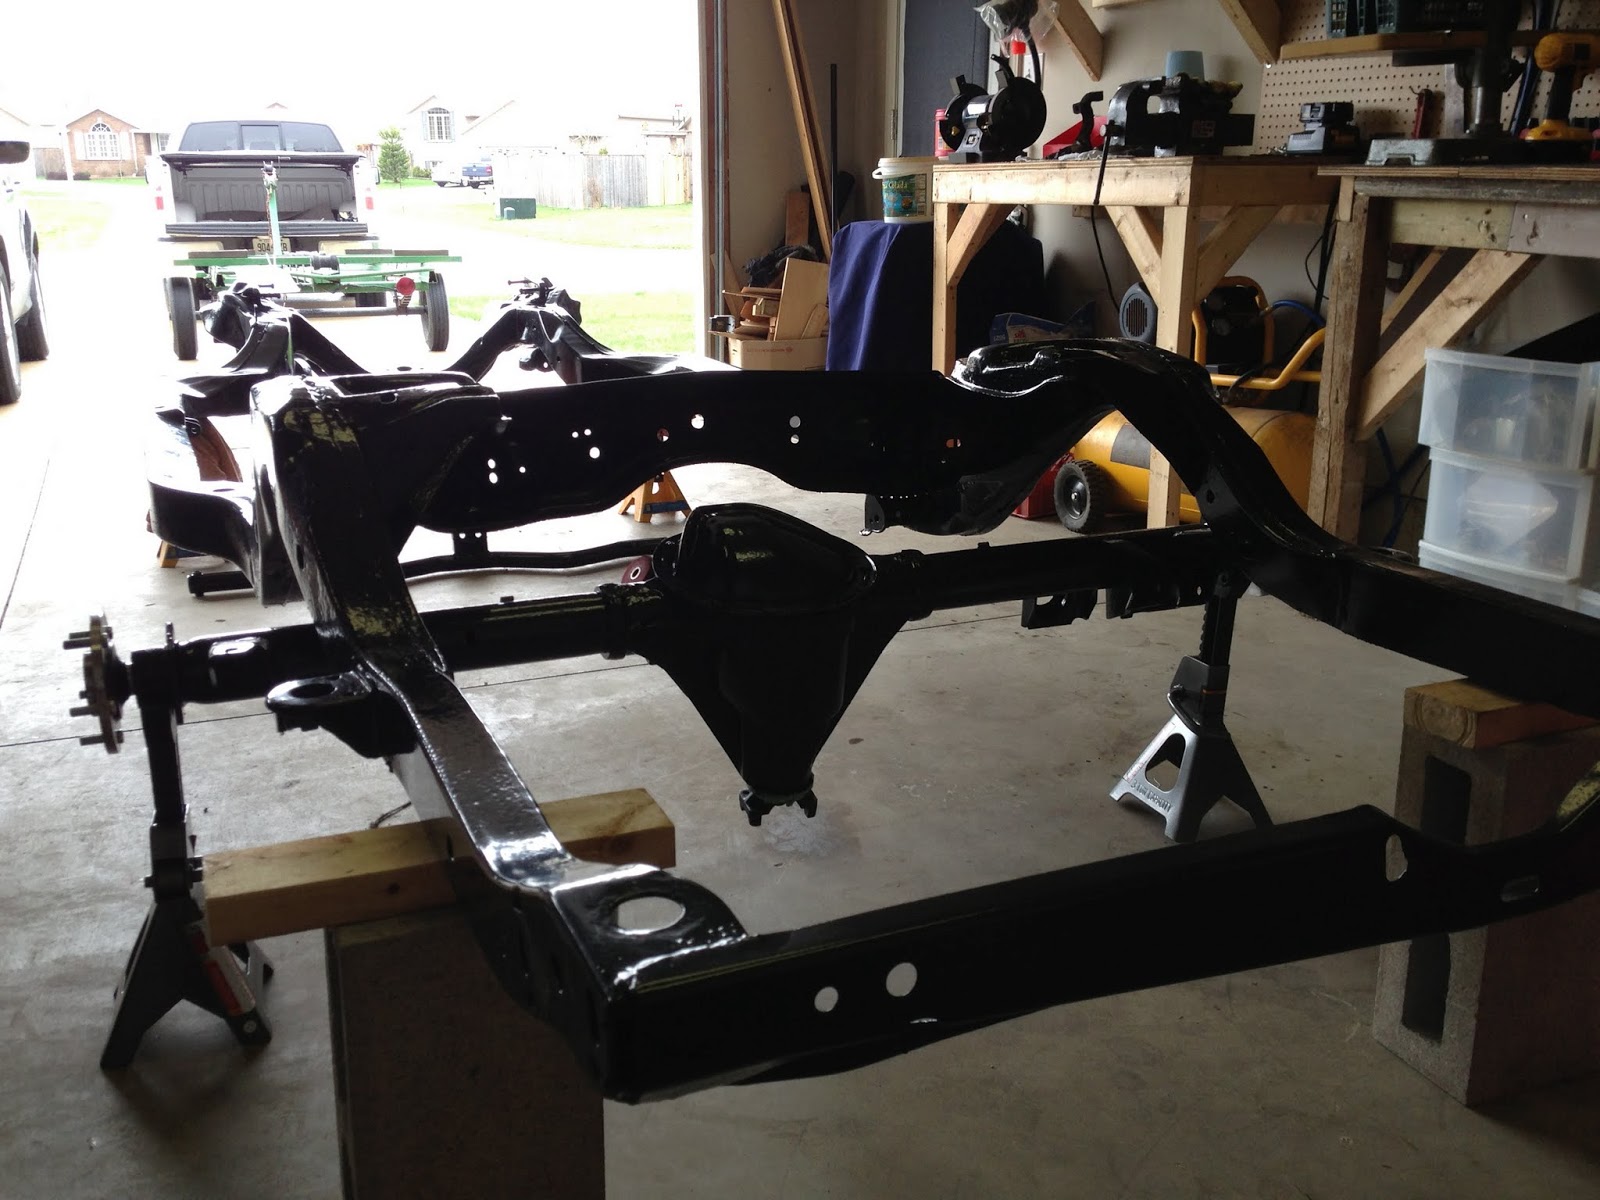
Heres a pic of the rubber insulators that were installed on top of the coil springs.  They are used to cut down on squeaking springs when hitting bumps.


 Here is some pics of everything all bolted up.  The bolts on the Lower Trailing arms and the upper control arms were not tightened and torqued because they need to be loaded with the full vehicles weight before they are to be torqued up.  so I made a note that these will need to be torqued after the car is all back together.


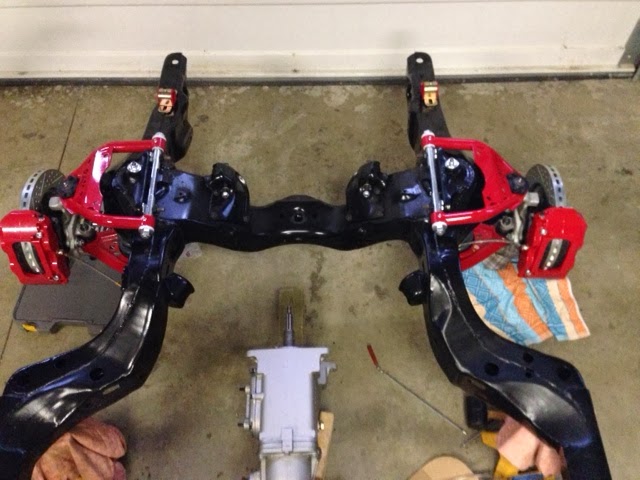
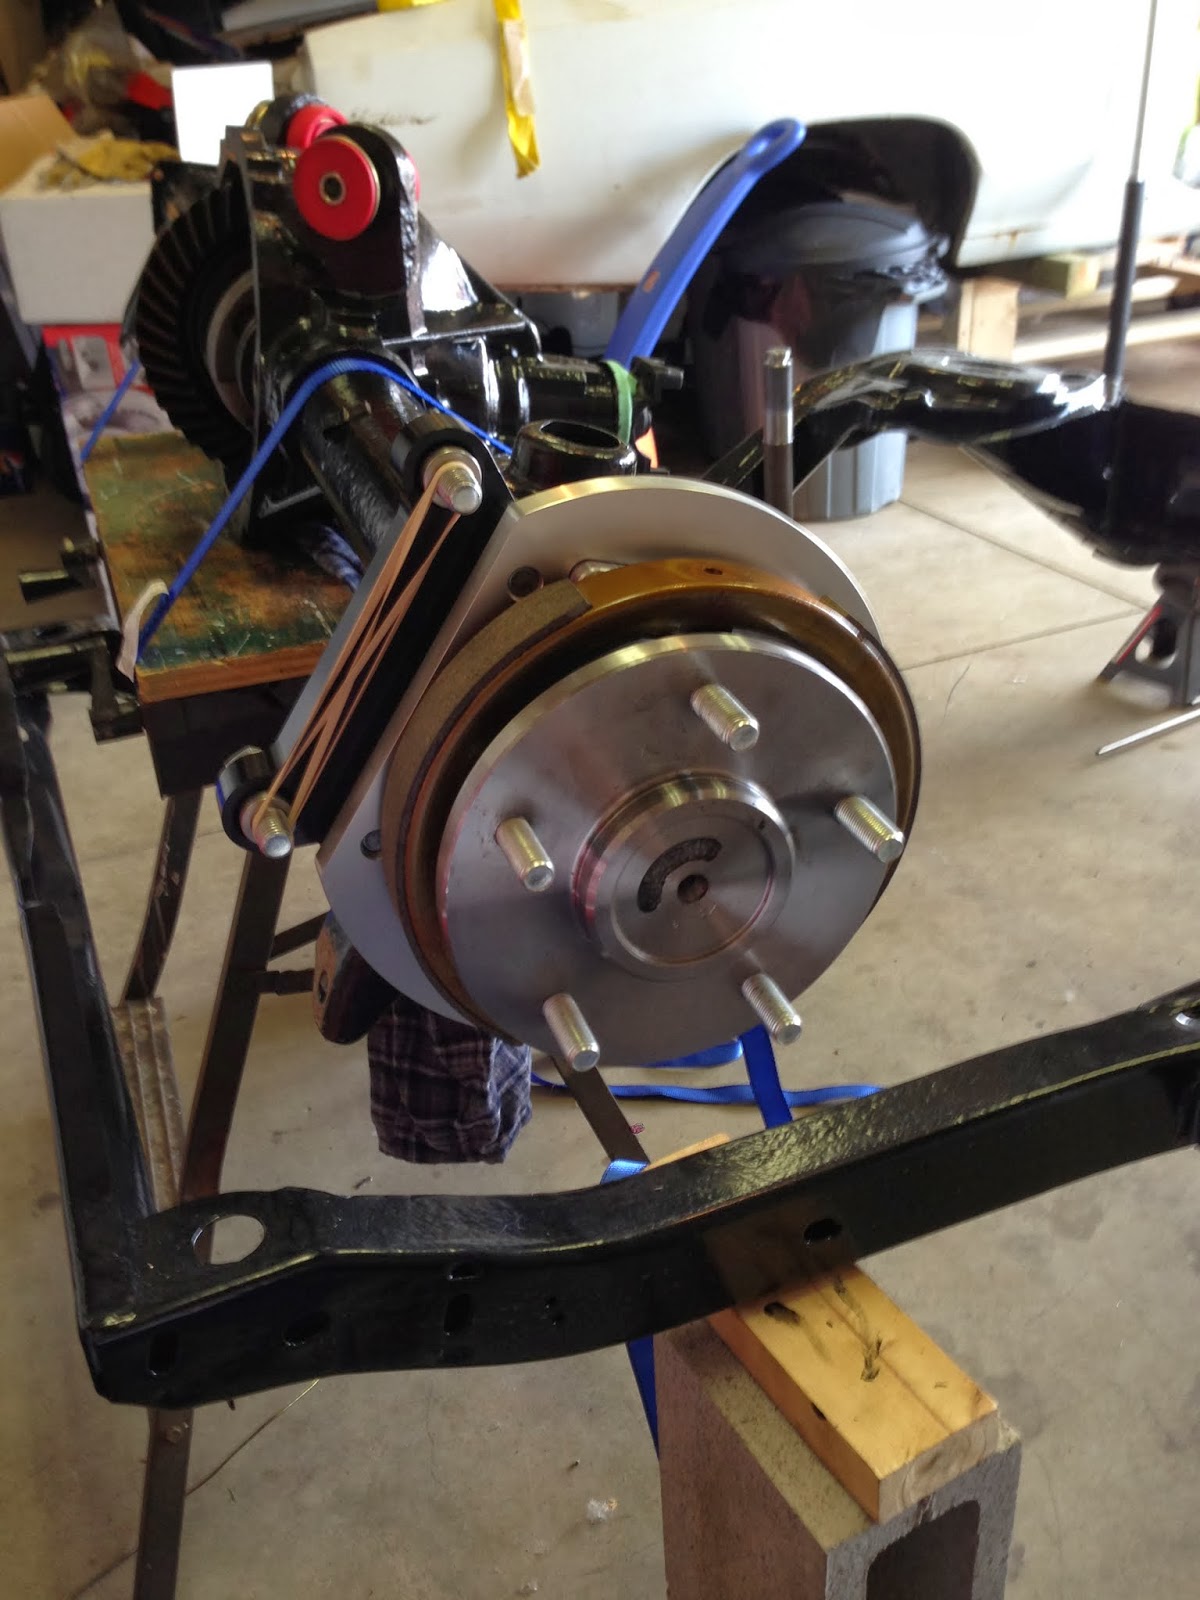
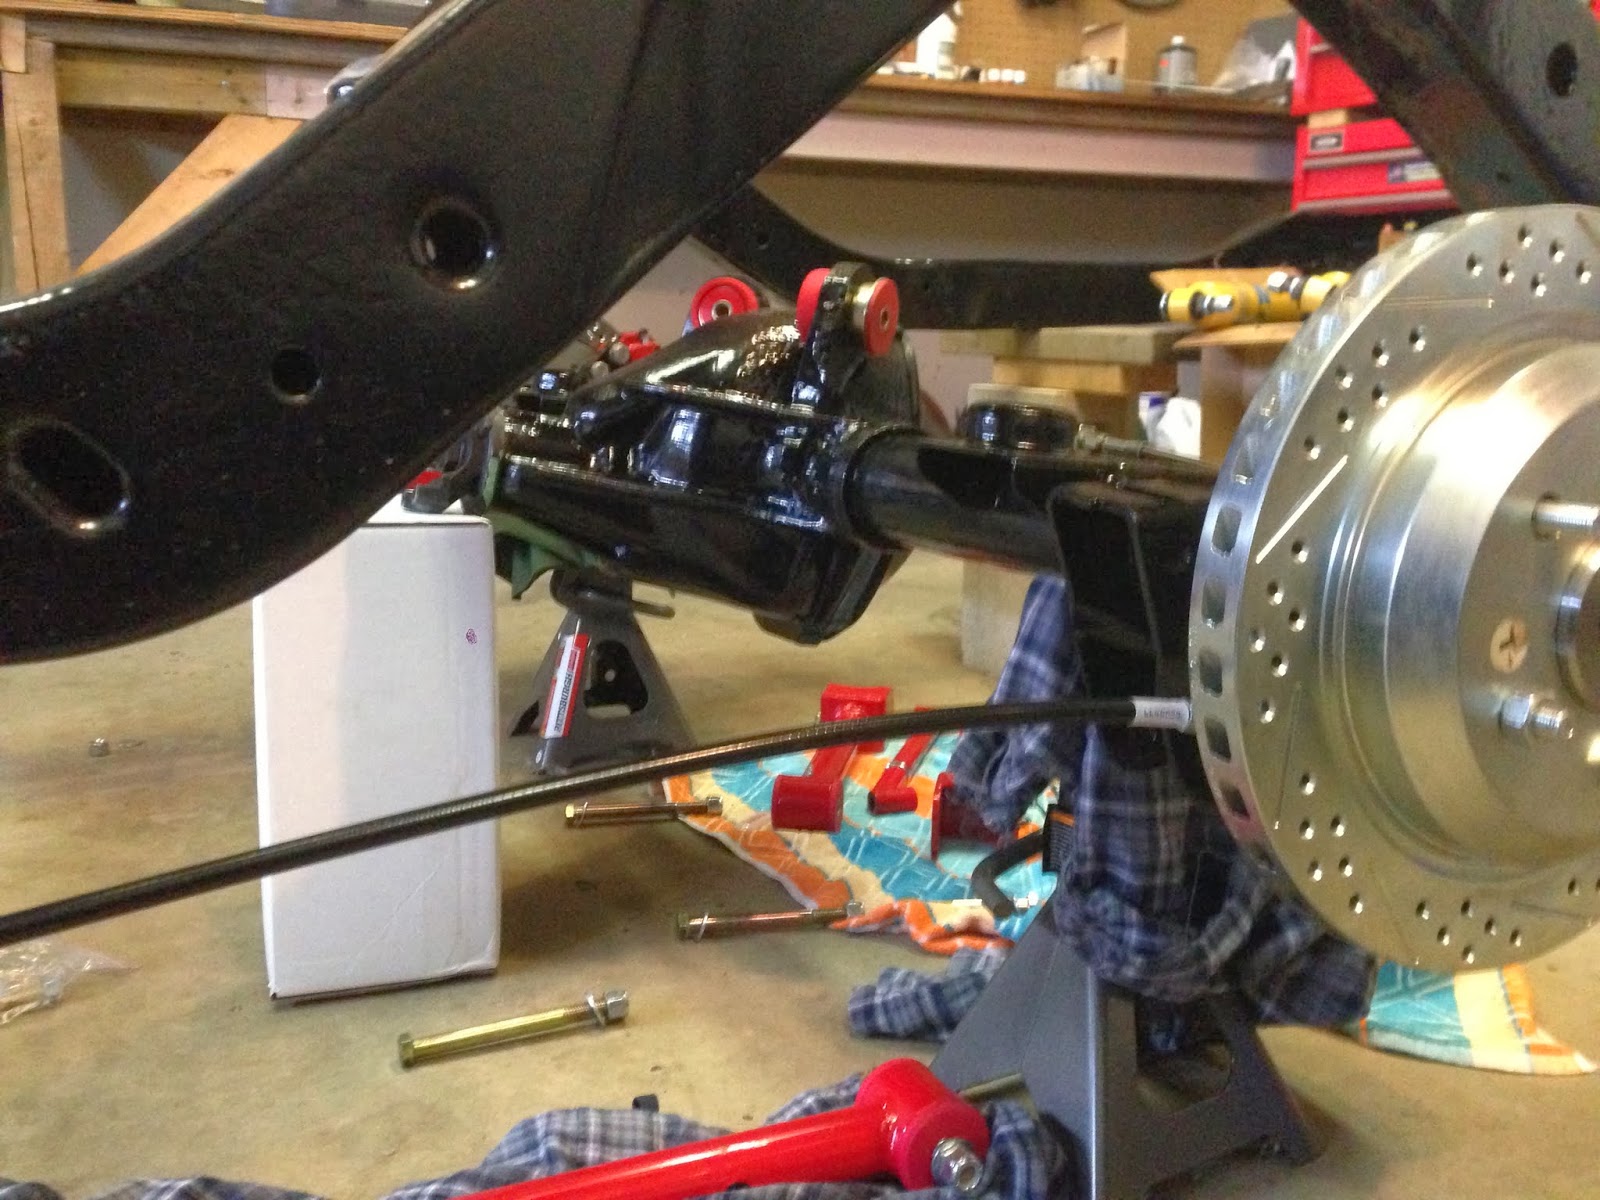
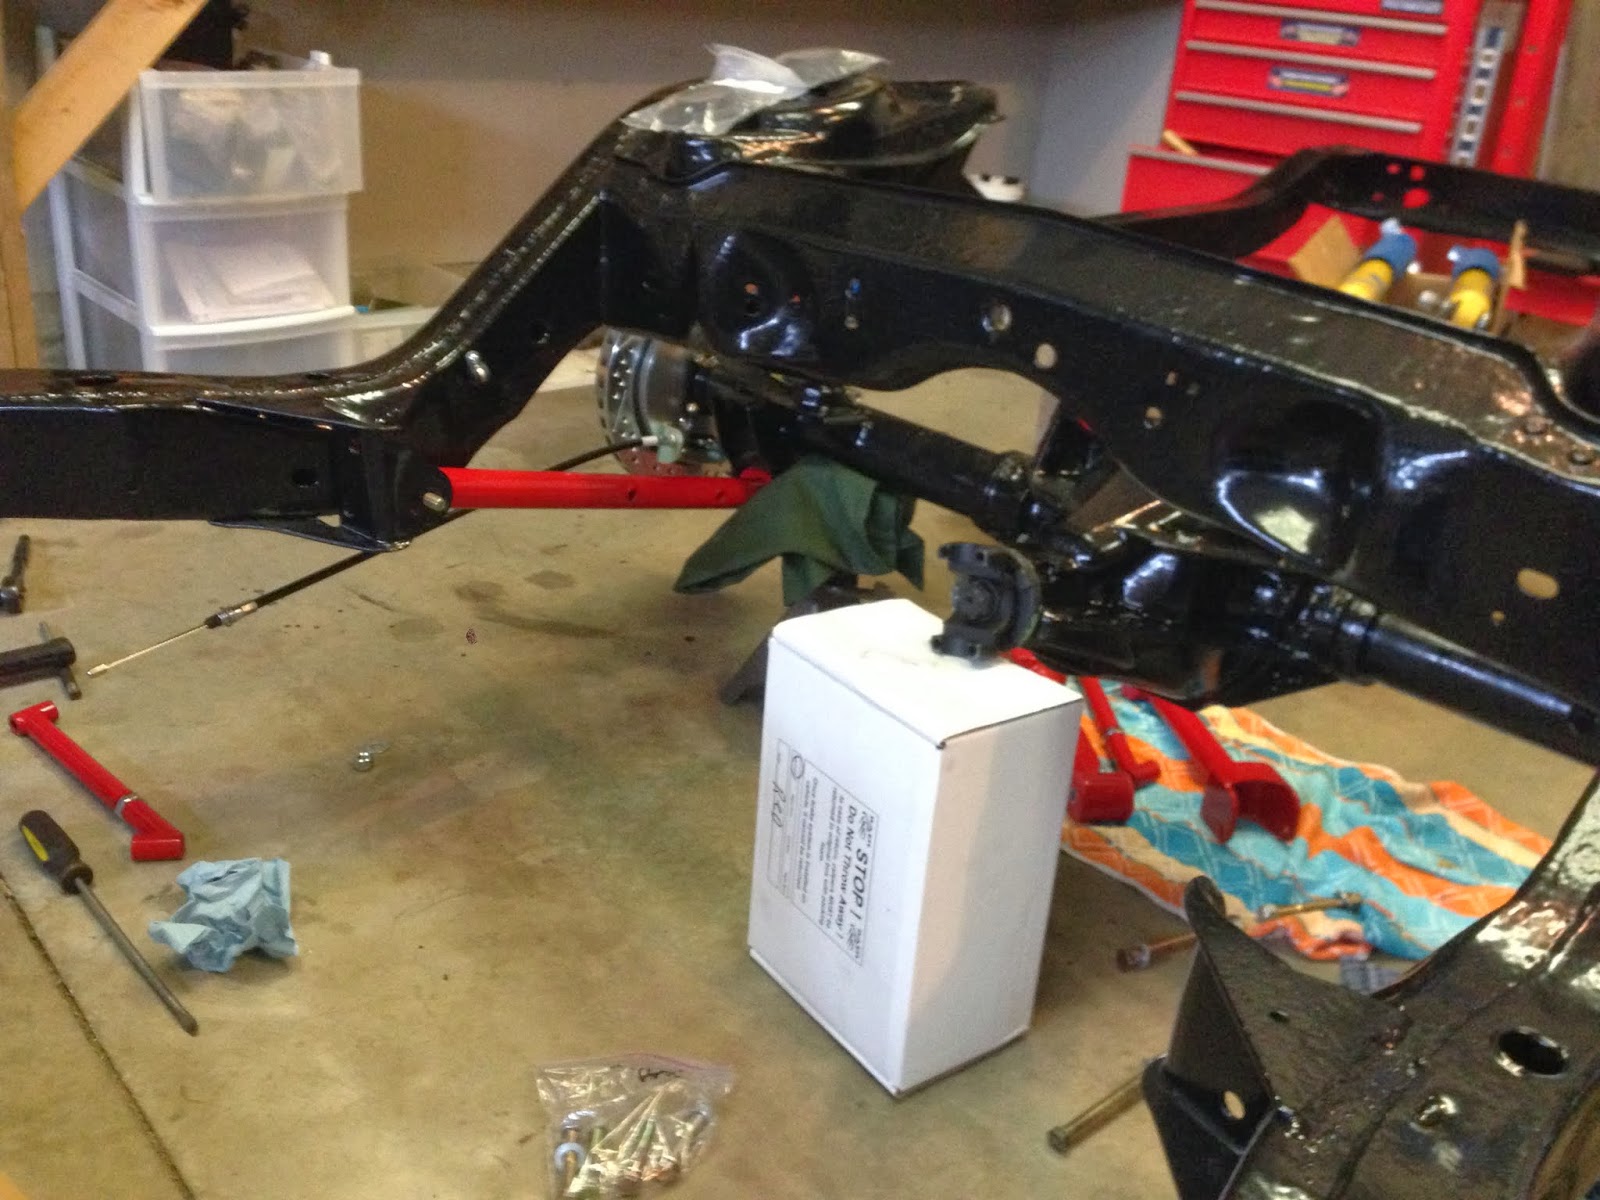
The UMI suspension kit that I got has a rear sway bar that was not in the original chevelle suspension.  This will hopefully hold the rear end and body to the road when cornering.


I also took this time to fill the rear end up with some oil.  I used some 80w-90 gear oil along with the Limited Slip additive needed for my posi unit.


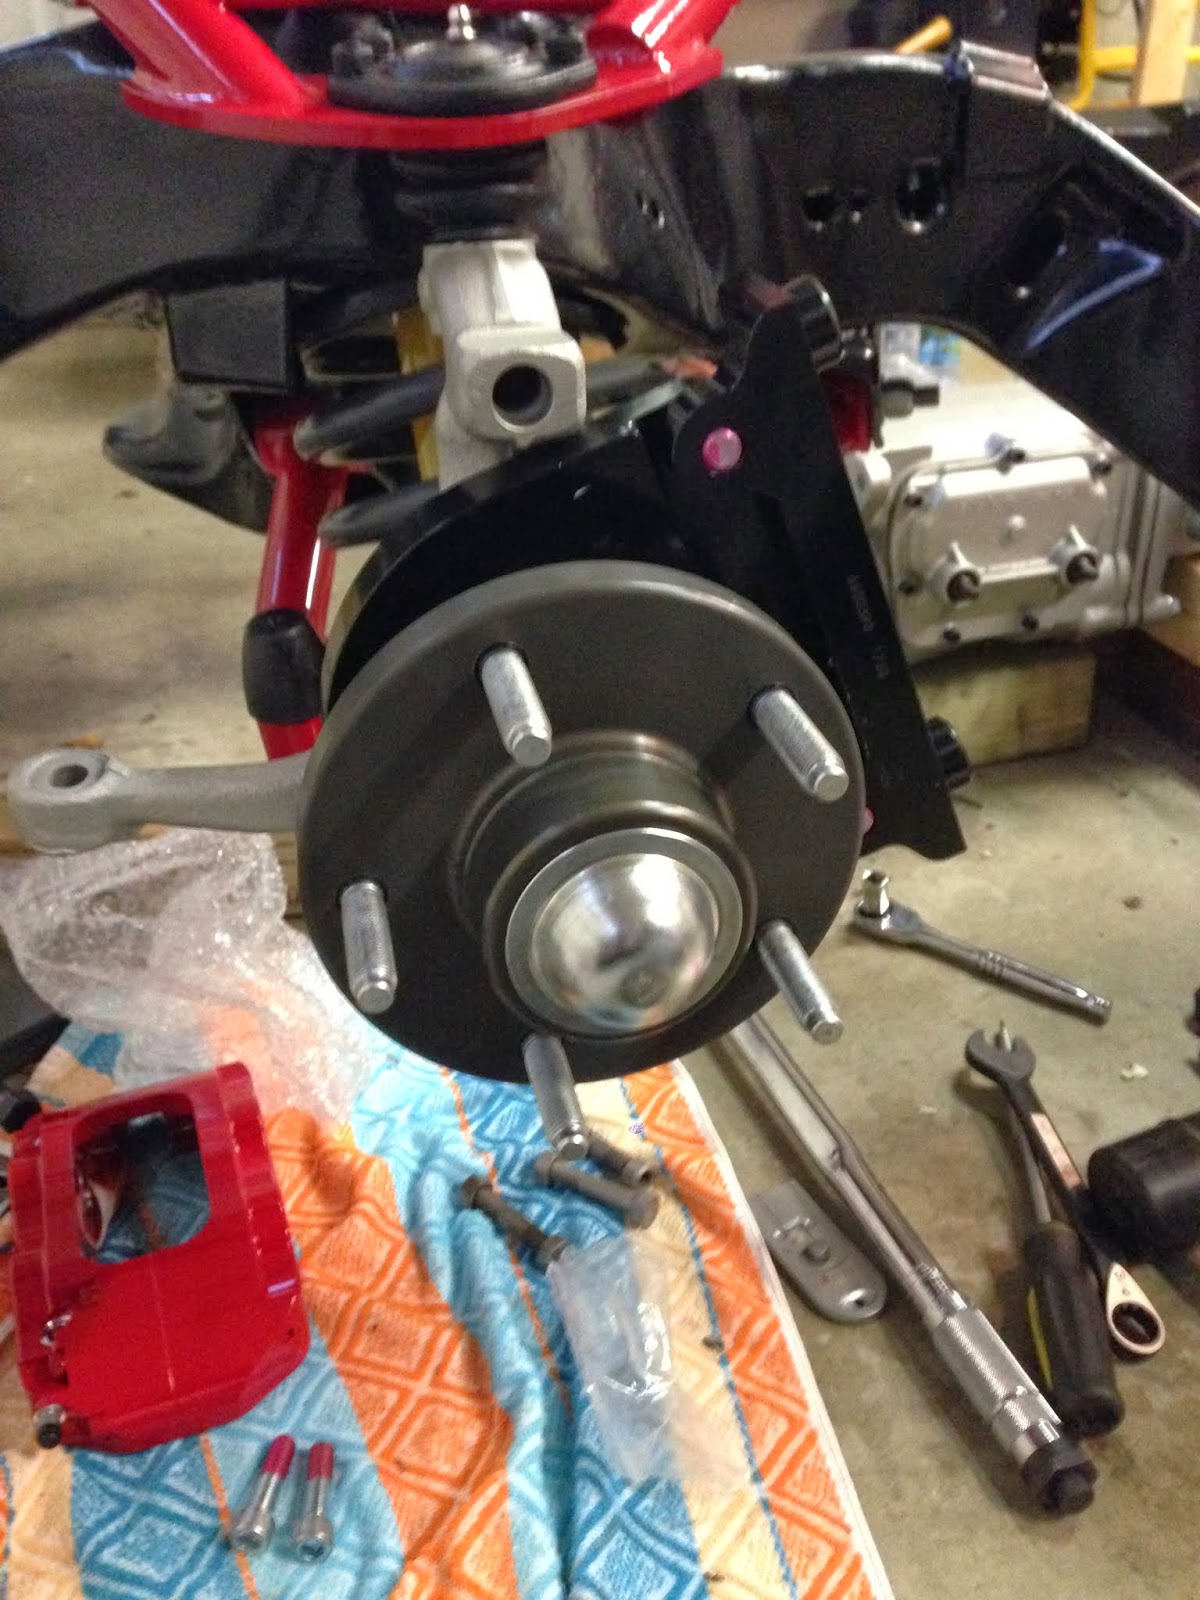
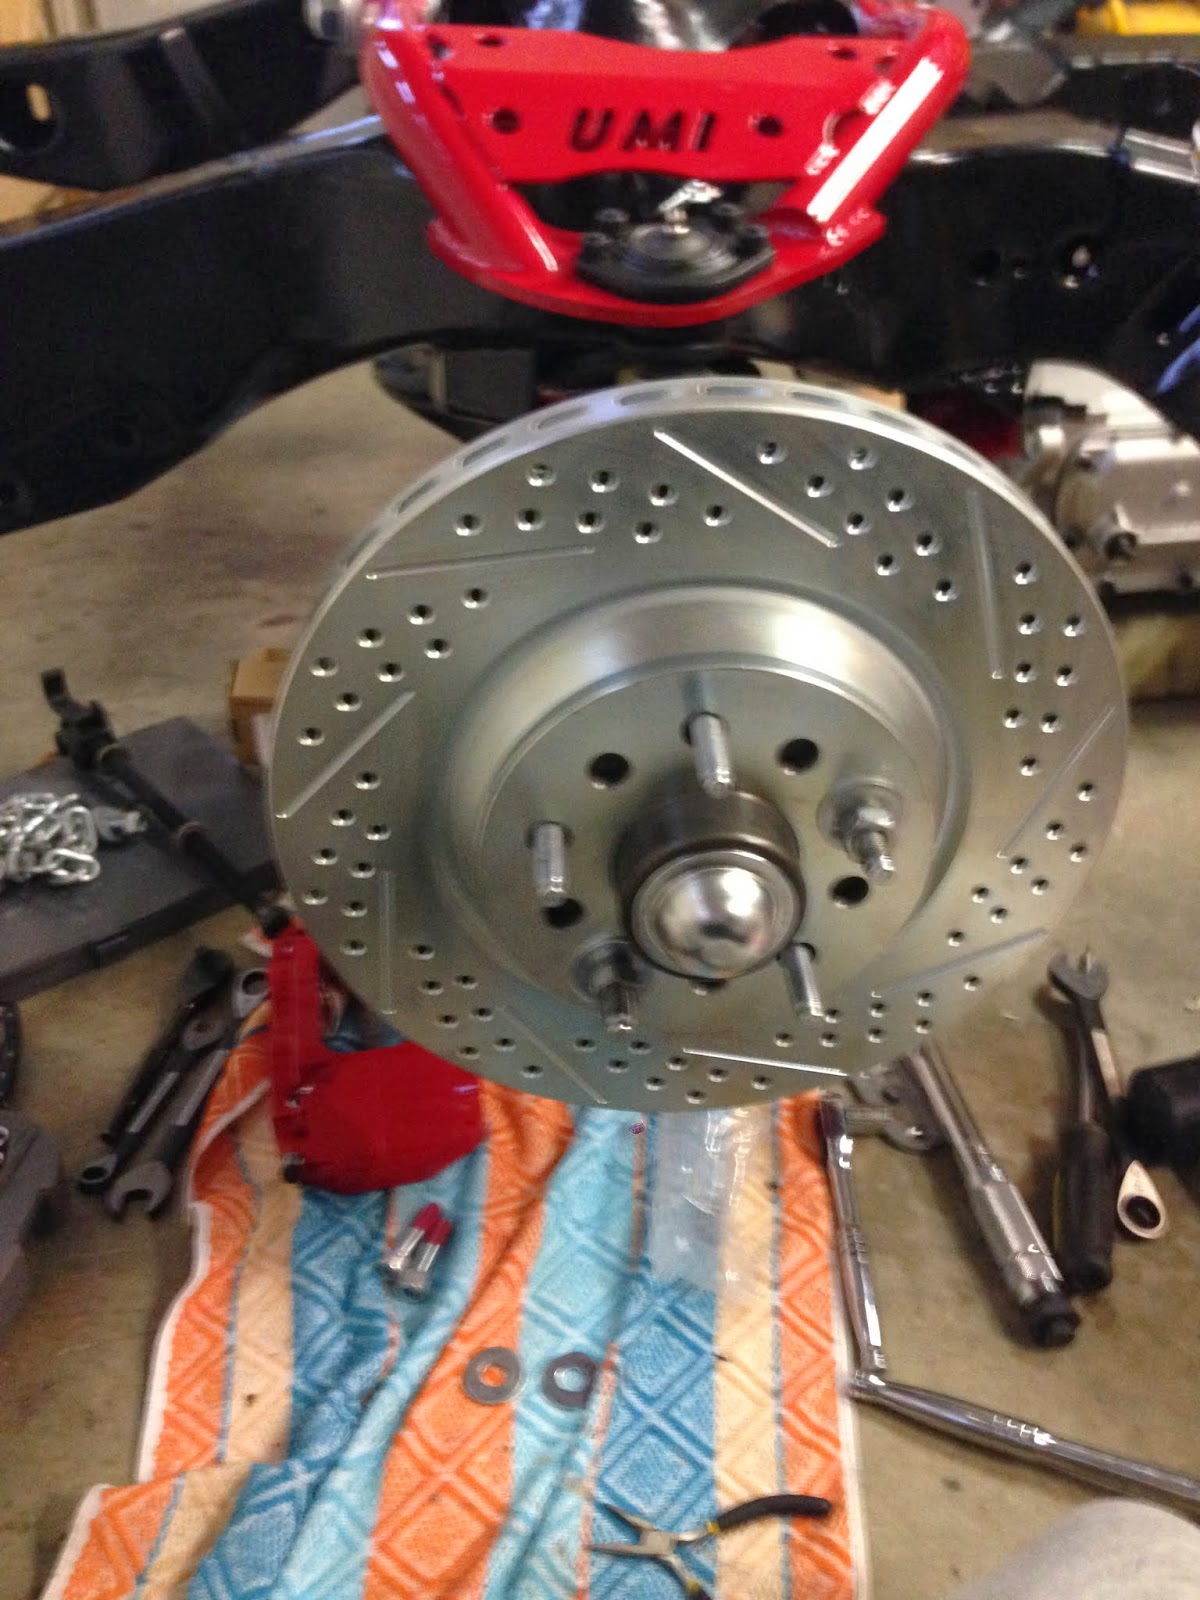
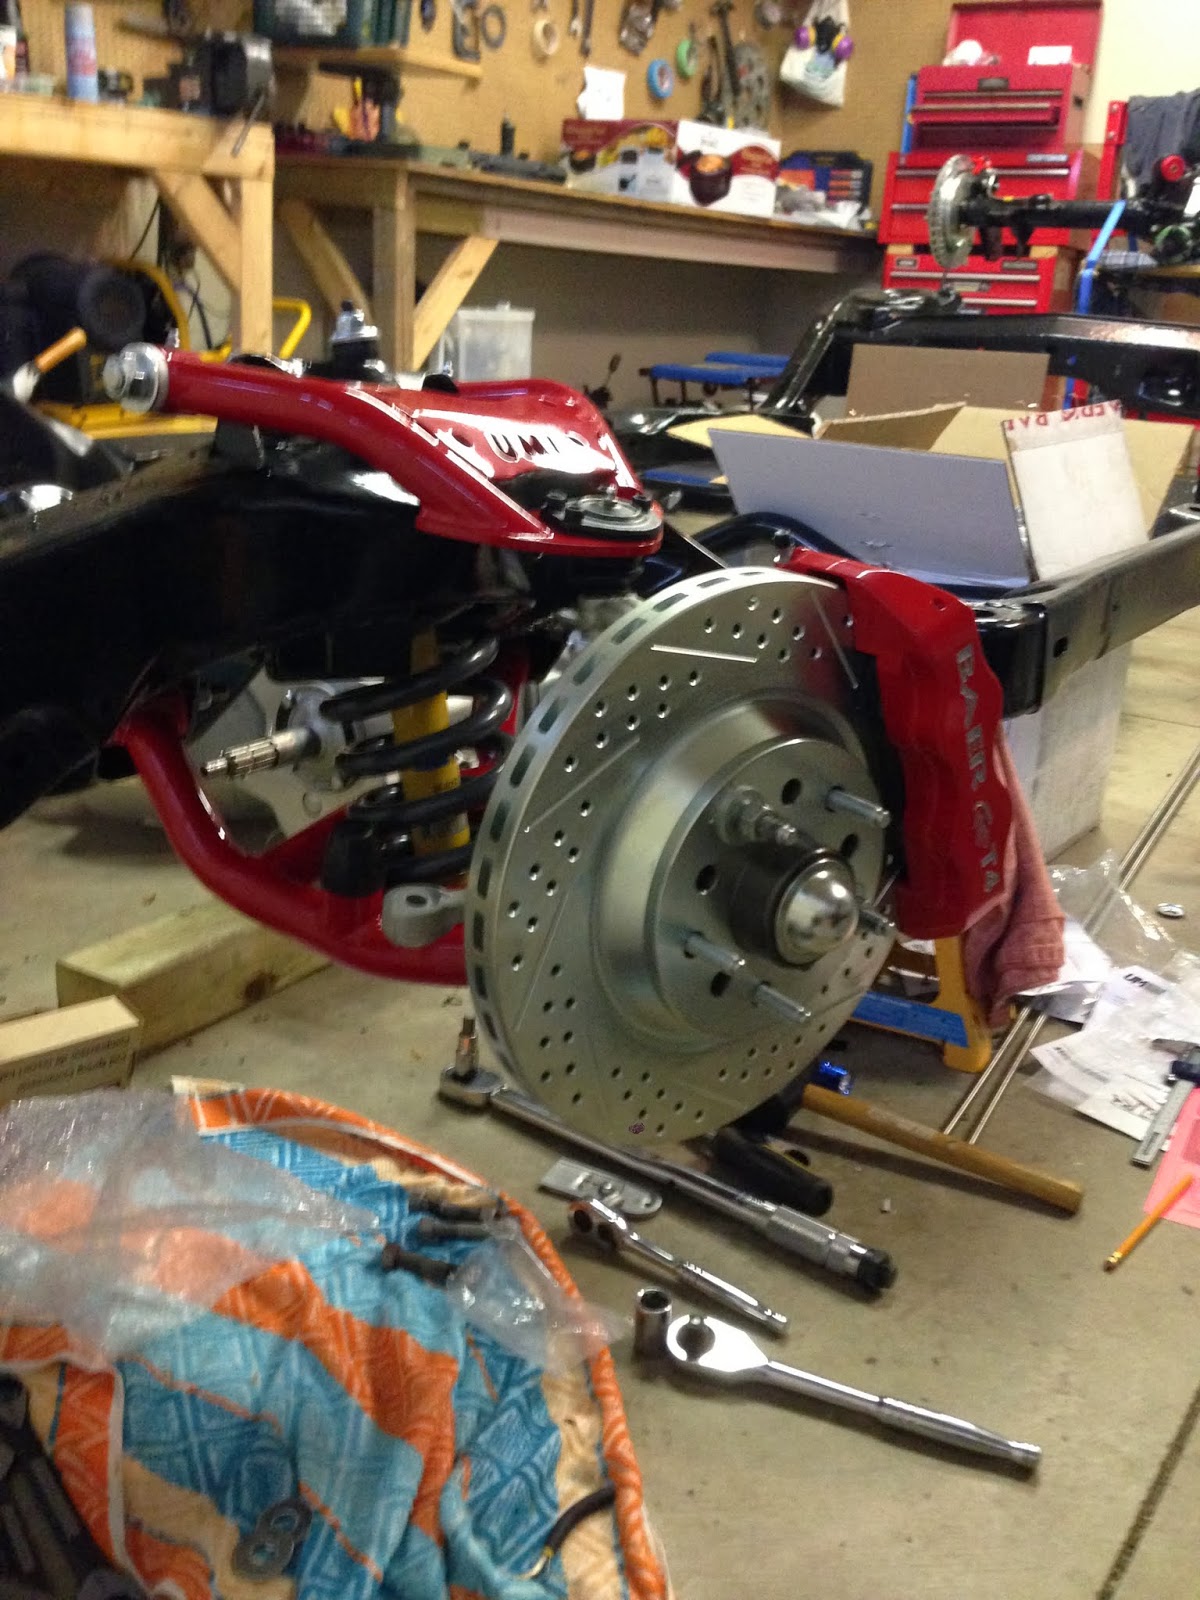
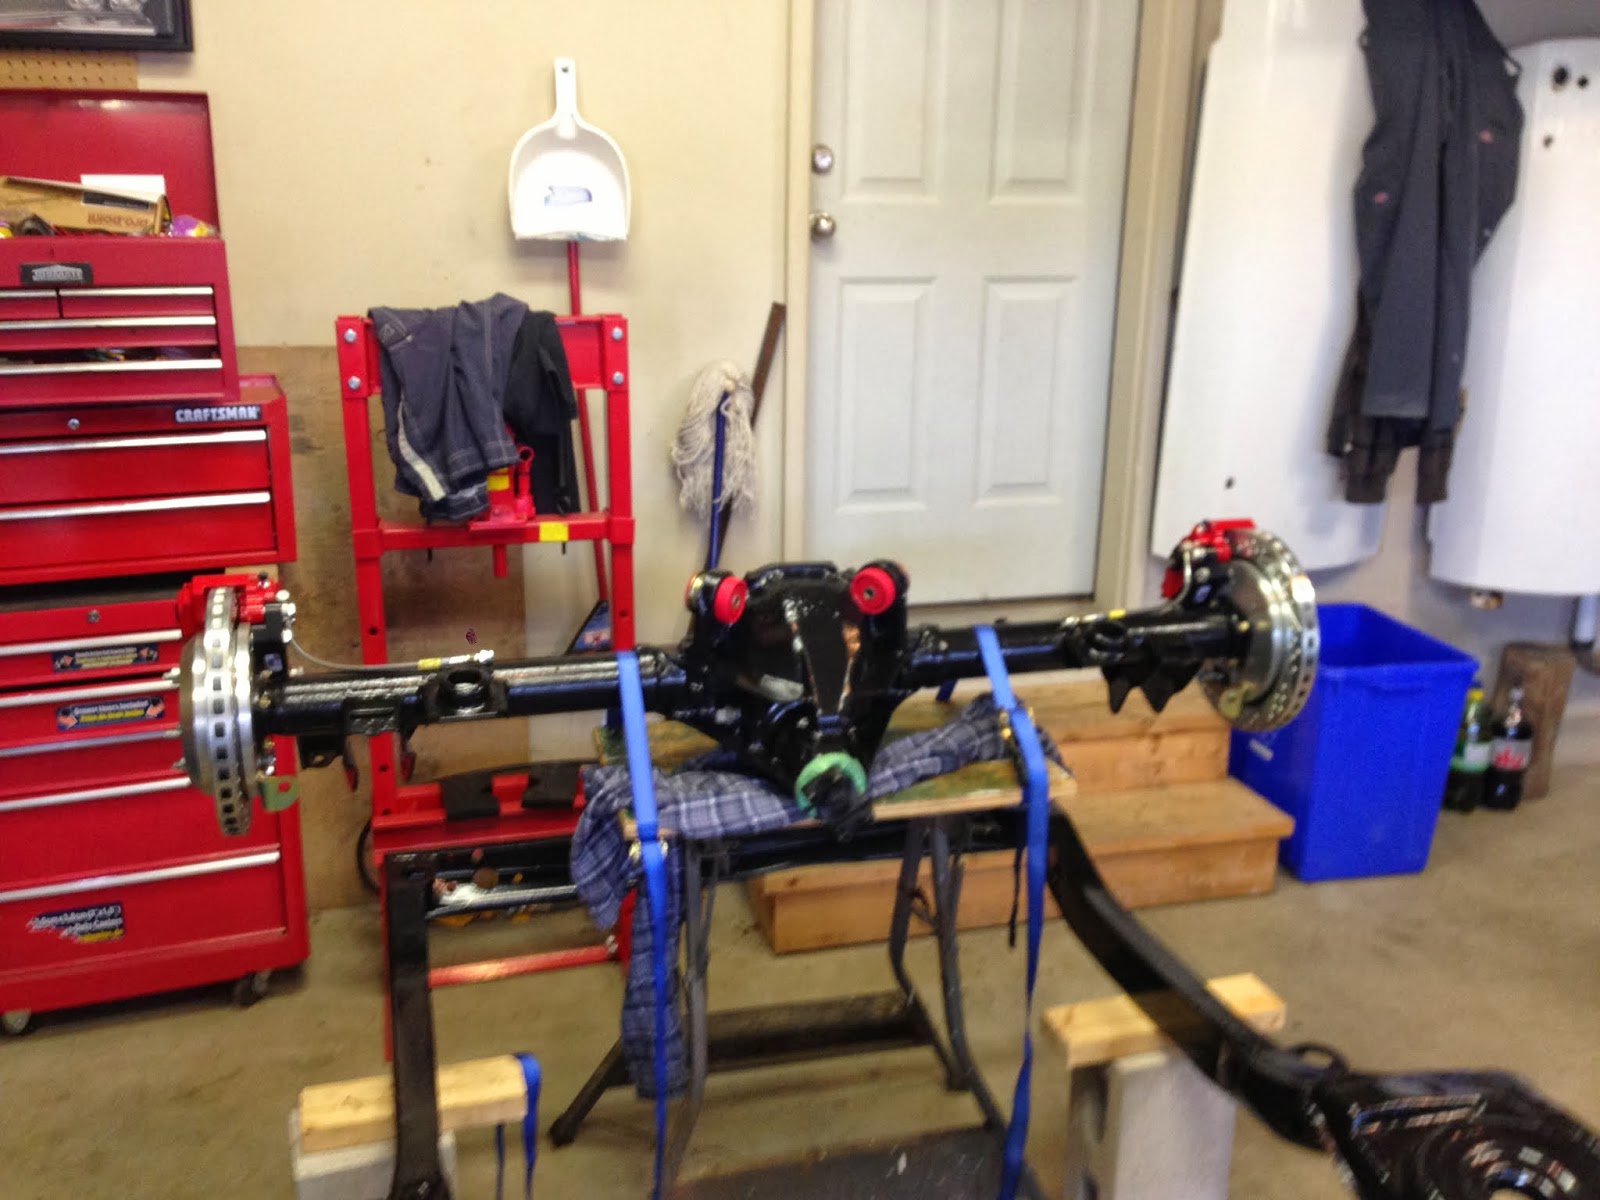
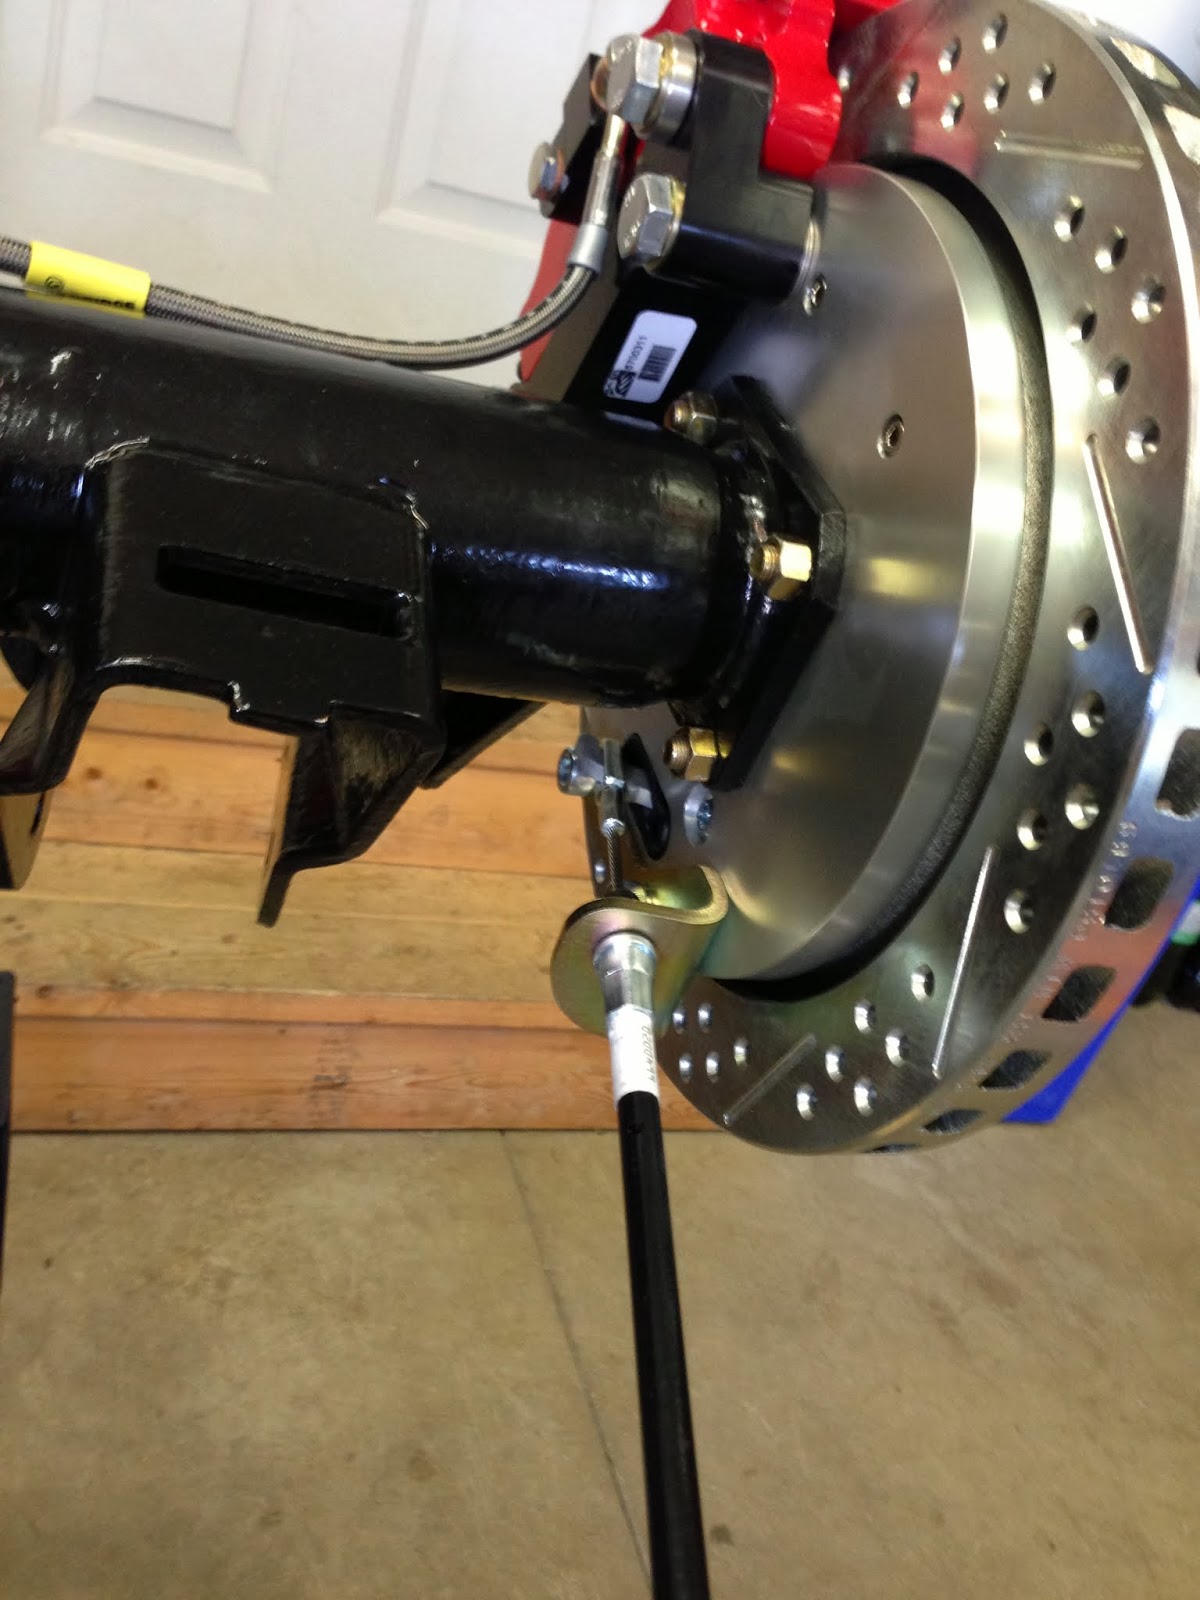
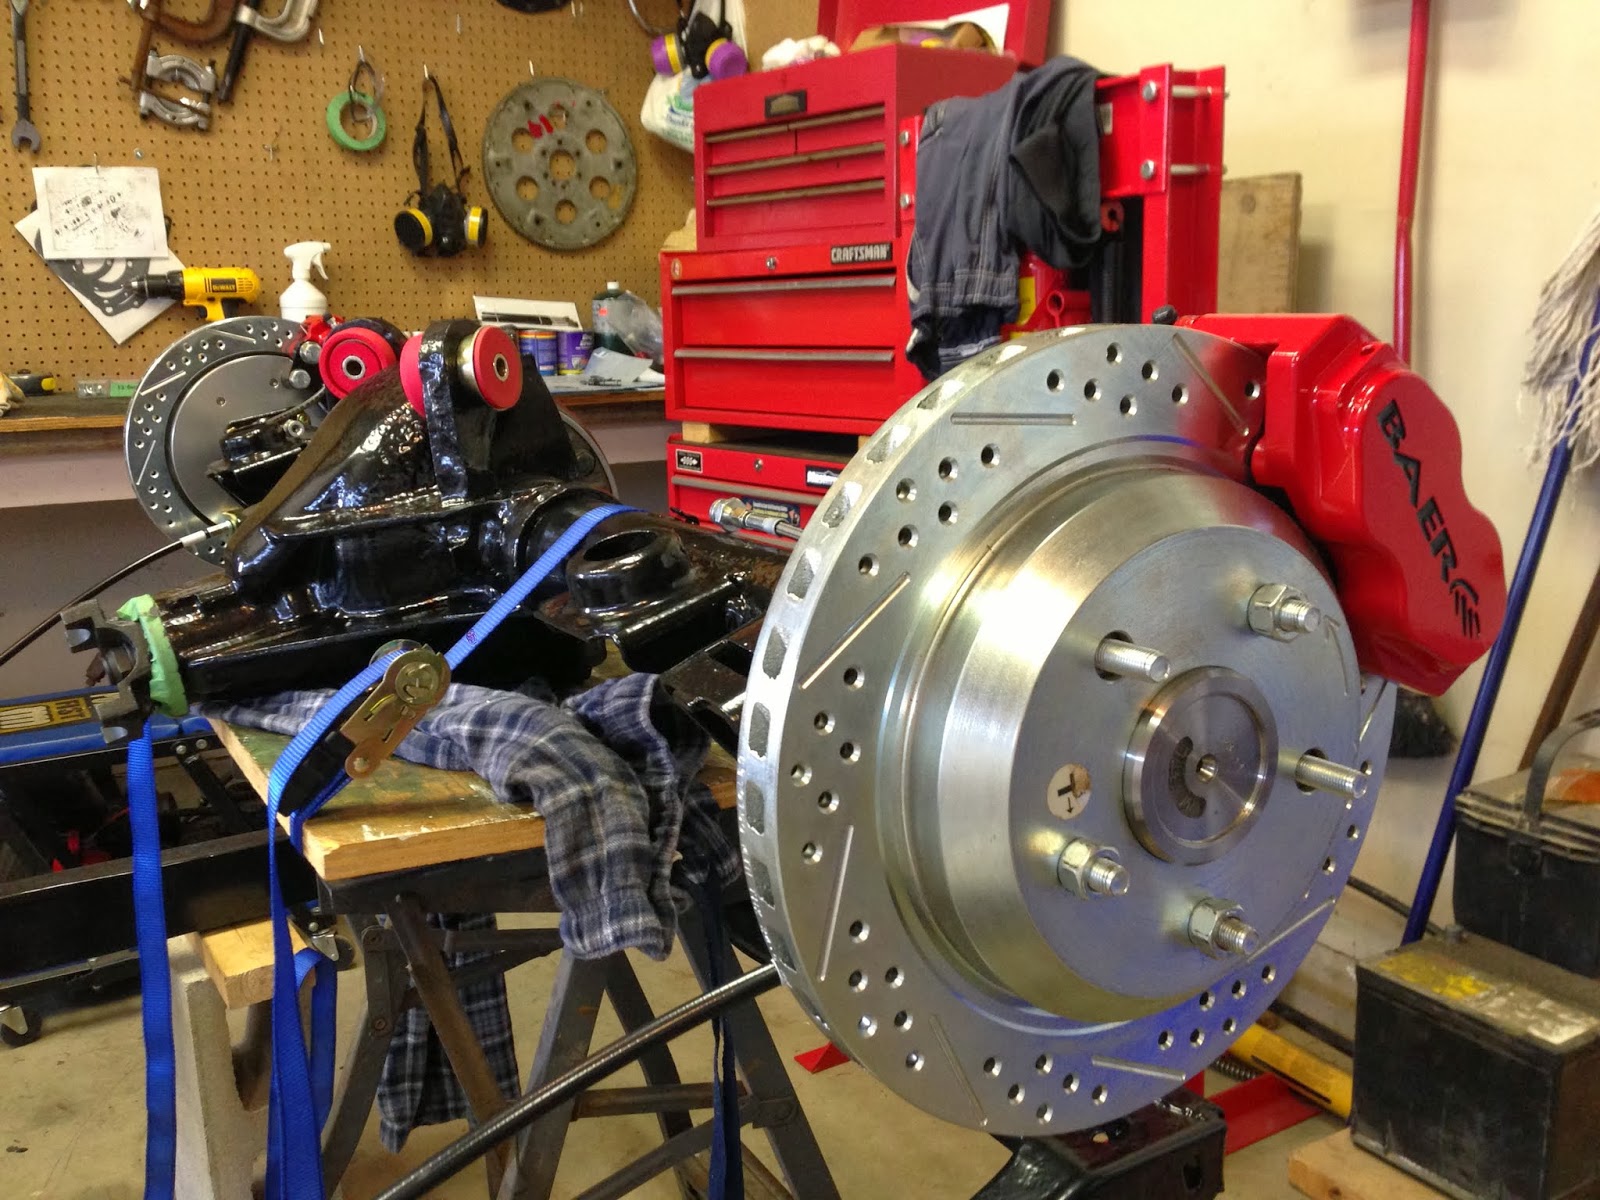
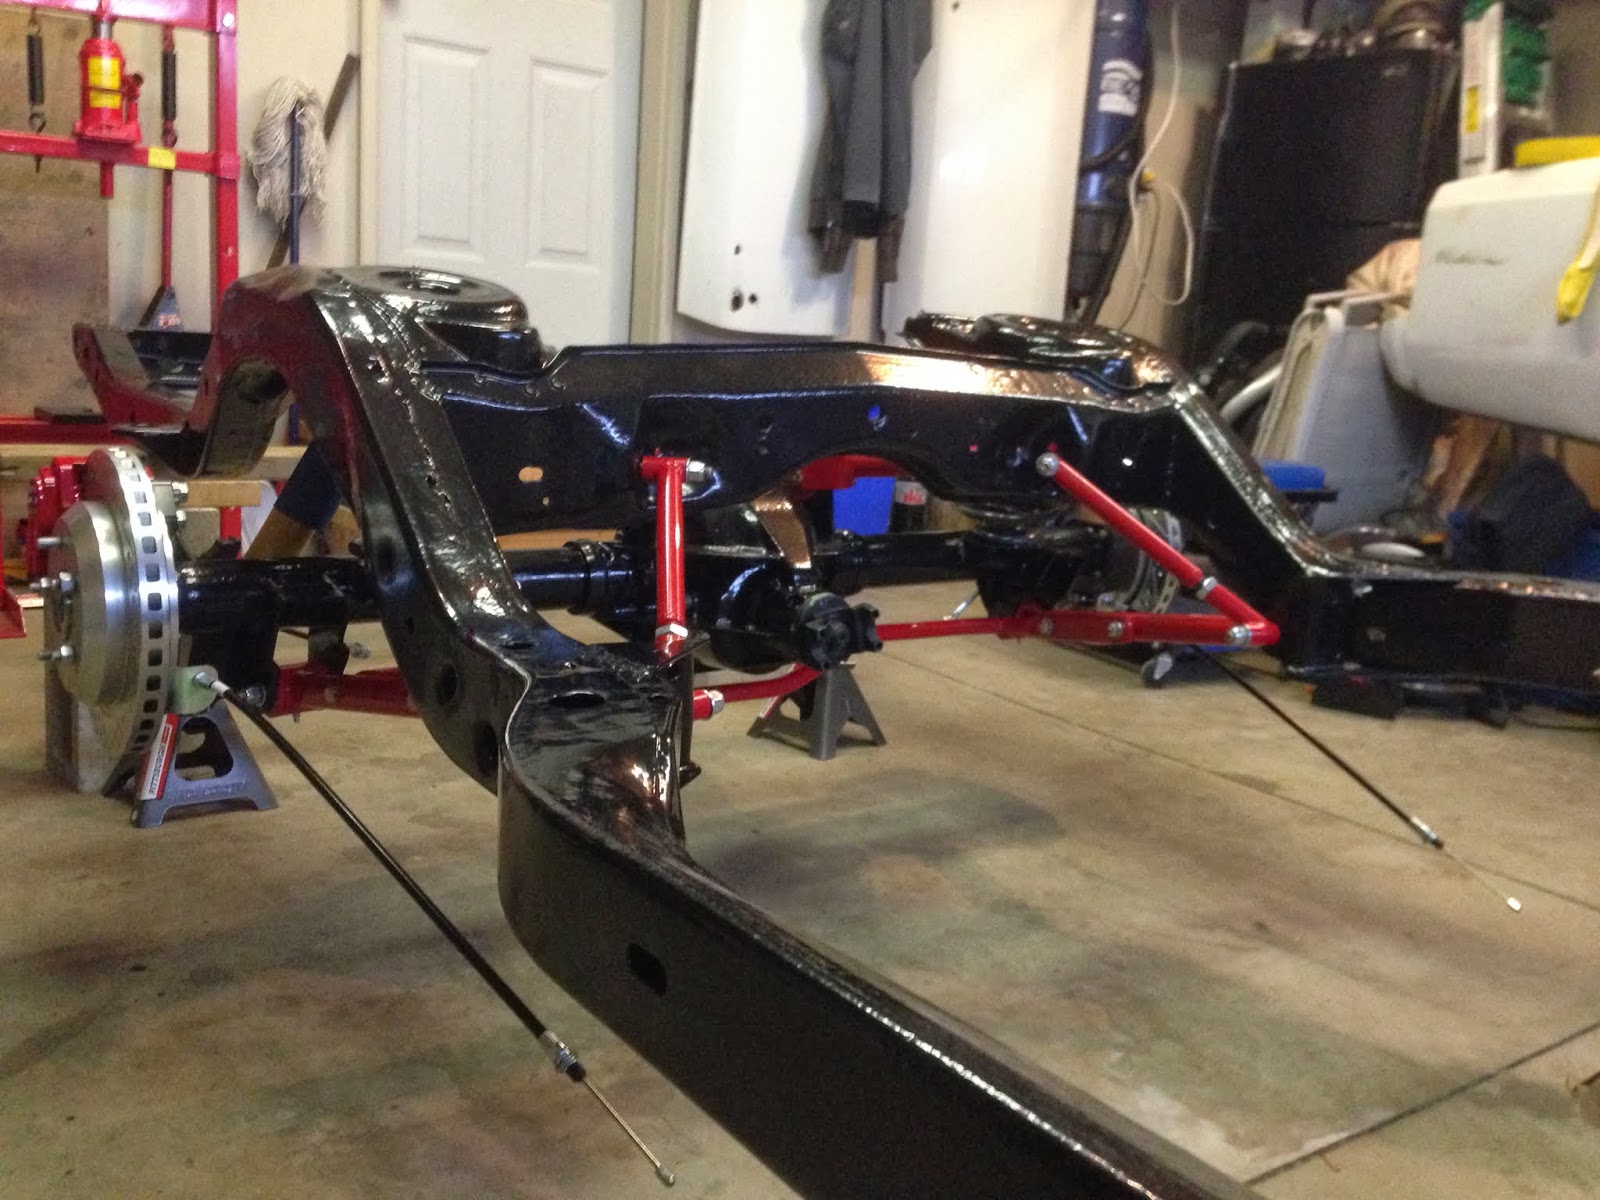
It's starting to look like a rolling frame again.  Next is fuel and brake lines


Monday, November 25, 2013

Front Suspension

Today I was able to finish the passenger side suspension and brakes.  Here are some pics of both sides done.  I am really happy with the look so far.


Friday, November 22, 2013

Front Suspension and Brakes Install Started

Today I spent some time in the garage,  I started installing the front suspension and brakes on the drivers side.  The biggest problem I ran into was compressing the spring, and placing it up in the correct position in the spring perch.  It took a few tries and quite a bit of maneuvering of the spring until I finally got it in the right spot.  The springs were new hotchkis springs.  The shocks are bilstein,  that came with my suspension kit from UMI Performance.  The Baer Track 4 brake kit went together fairly easily using the included instructions.

Hotchkis spring and bilstein shock, upper and lower UMI suspension A arms

With the Baer Track 4 brake kit I was able to reuse the original factory drum spindles.  I sandblasted the spindles and gave them a couple coats of aluminum coloured paint


The Baer kit came with a new hub assembly that was all ready to go and prepacked with grease.


The Front Driver side front suspension and brakes are all together, tourqued and ready to go.  Now I need to do the same on the passenger side.

Rear Brakes

In September I was able to find sometime to work in the garage.  I decided to put together the rear brakes.   It was fairly straight forward when using the instruction manual that came with the Baer SS4 rear brake kit. 


 I had to remove the axles in order to bolt the brake faceplates on


 axles reinstalled in rearend


 Parking brake cable

Here is the rearend all finished, all I need to do is fill with oil and its ready to be bolted up to the frame


Sunday, August 18, 2013

Brakes

The brakes have come in.   Once I find some time, I am going to start putting this chassis together.  Here are some pics of the brake kits.


Here is the Front Track 4 kit with 13" rotors and 4 piston calipers
Close up of the powder coated calipers

 
Here is the Rear SS4 kit with 12" rotors, powdercoated calipers and internal parking brake

 
I quickly slapped the front kit together to get an idea of how it will look when done

Friday, July 26, 2013

Brakes

      Over the Last few weeks I have been trying to decide what to do in regards to the brakes for the Chevelle.  I have decided that the old style 4 wheel factory drum setup will be replaced with a 4 wheel disc setup, which should provide much better braking.  I originally was looking at a Kore 3 brake kit, which is essentially C6 Corvette brakes modified to fit on the Chevelle.  I really liked these kits but didn't like how the Red calipers had the "Corvette" emblem on them, and they were about the same price as the Baer kits.

     I also looked at the big name brands of Wilwood and Baer.  I finally decided to go with the Baer Brake kits. The Wilwood kits are all very nice but are too much over my budget, so they were crossed off the list.  The Baer brakes seemed the best deal for the quality of kit that I would be getting.  They come with all the hardware for installation, along with brakets that will allow me to still use the original drum spindles on the front.

I ordered the Baer Track 4 kit for the front, with the red calipers.  Here is a link to this kit.

http://www.baer.com/products/brake-systems/t4

I ordered the Baer SS4 kit for the rear, with the red calipers.  Here is a link to this kit.

http://www.baer.com/products/brake-systems/s4

I ordered these kits from Jegs, which was the best price of all the places I looked.

Now I wait for them to be shipped....


Saturday, May 11, 2013

Muncie Rebuild Complete

This week I finished up my rebuild on my Muncie four speed transmission.  I documented the full rebuild and this can be seen by clicking the links on the right side of this blog.


Monday, April 29, 2013

Frame Powdercoating

Now that I had all the frame repairs and welding done on the frame it was time to get it ready to be powdercoated.  Most of the month of April was spent taking all the suspension back off of the frame, and getting the frame back down to it's bare self. 

Once I had the frame bare, I loaded it onto a trailer and took it to C&C coatings in Sarnia (20min drive from my house).  There they burnt the coating of primer I had put on off, and then powdercoated the frame.  They had to do this because the powdercoating needs bare metal to adhere to properly.

Here are some pictures of before and after the powdercoating process.

Taking the suspension and engine/transmission back off the frame
 Frame loaded up, ready to take to C&C Coatings


Frame back from the shop, I chose to get it done in Semi Gloss Black.  Similar to what it would have looked like from the factory


Now it's time to start putting this puzzle back together......