Disassembly


I removed the 6 tailhousing bolts and pulled the tailhousing off while pulling on the reverse lever to free it from the reverse gear, so the tailhousing could come off. The top right picture is of the reverse lever, detent ball and spring. You have to make sure when you pull the reverse lever out of the tailhousing you catch the detent ball somehow, or it will fling across the room. I put the tailhousing flat on my work bench and then pulled the lever out, so that the ball sprung out and just landed down on the work bench.


Next to come off was the input shaft nut. To do this you have to lock the transmission into two gears at once with the hub/sliders inside the case. I put it into 1st gear and 3rd gear. Doing this locks the main shaft from moving so that the input nut can be wrenched off. To take the nut off I used a pipe wrench. I used the pipe wrench because A) I will be replacing the nut with a new one so didn't care if I damaged the nut and b) I had ordered the special wrench for this nut, but had not received it yet.


Then I removed the mid plate snap ring and slid the mid plate off the main shaft.


The 3-4 hub snap ring was then removed. I had some trouble getting the 3-4 hub off. I had to use my press to get it off. This normally should slide off without the press but mine seemed to be wedged on there. I forgot to take pictures of the next few steps, but once I had the 3-4 hub off, the 3rd gear slid off the main shaft. I was then able to put the remaining assembly (1st gear bushing, 1-2 hub, and 2nd gear) in the press and press them off in one shot. The top right and above middle pictures above I found online showing what I did.
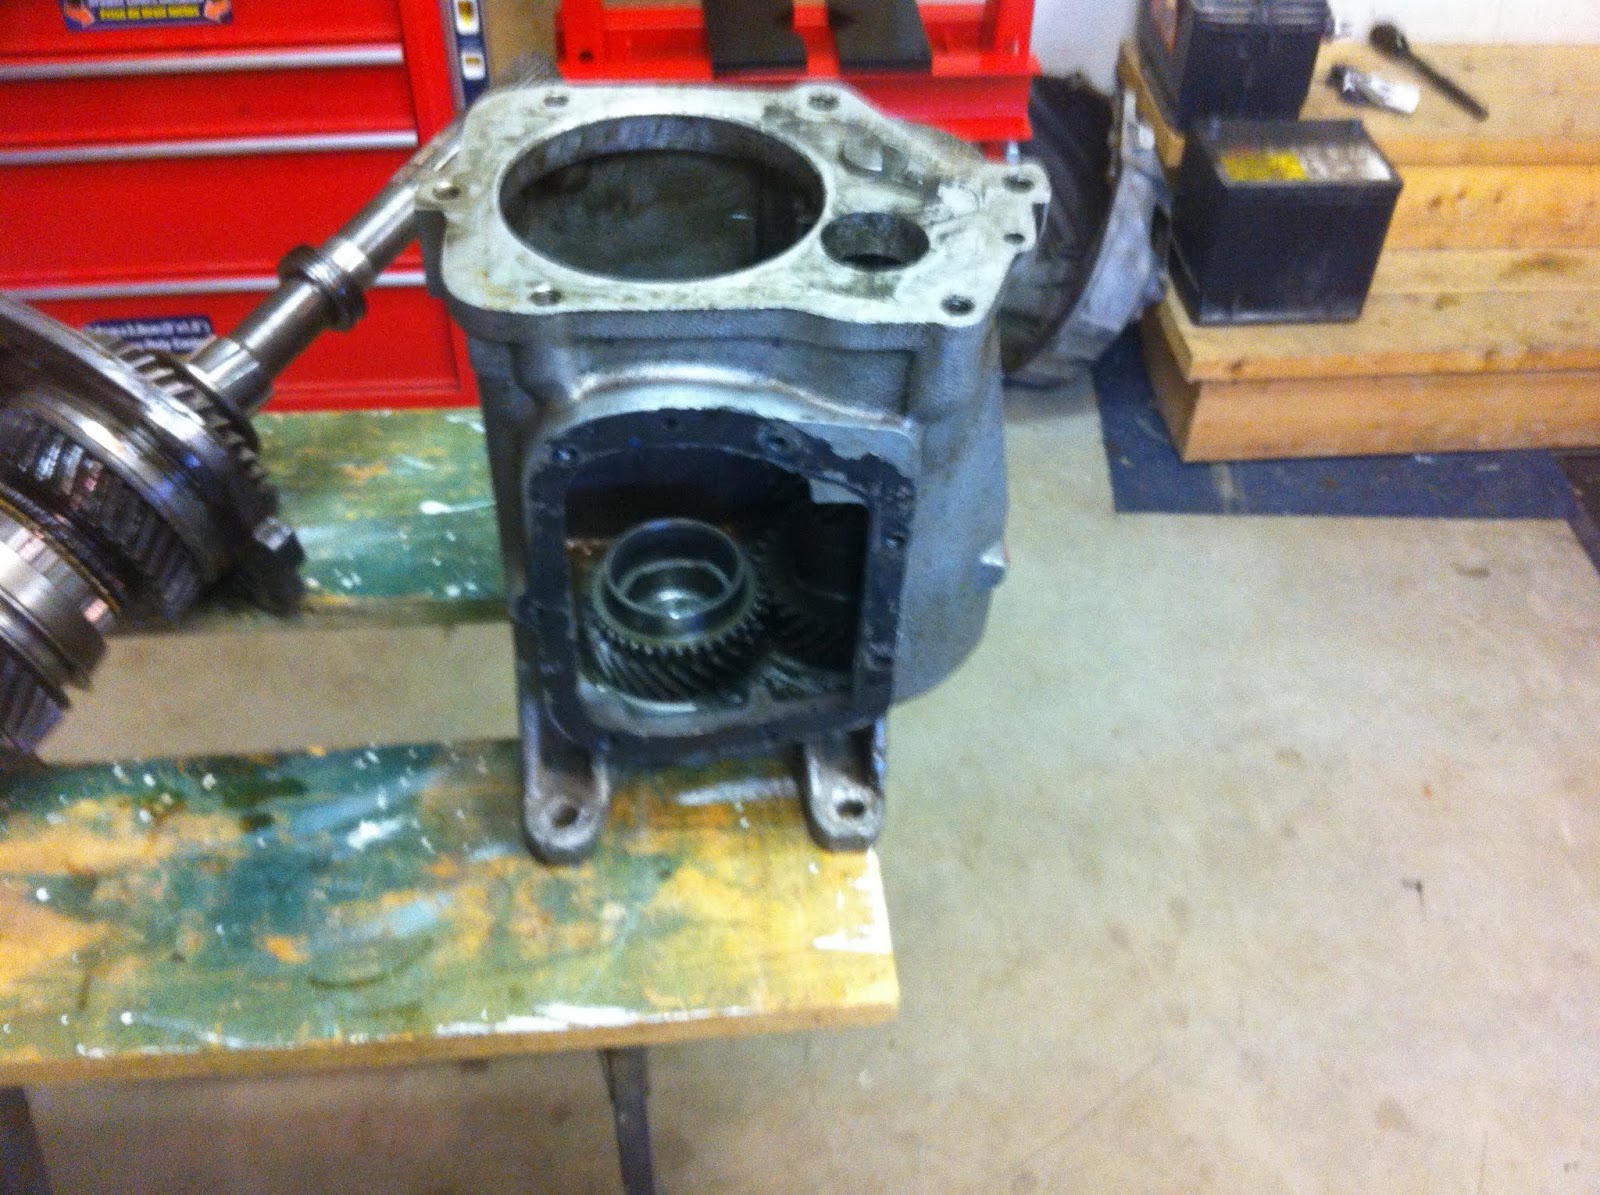

Now that the main shaft had been disassembled, I turned to the main case. I removed the front bearing snap ring (not shown) and then pressed the input shaft out. I had to make sure to support the input shaft when pressing it, to prevent it from falling into the case. I then tapped the bearing out of the case with a soft face mallet. The picture on the right shows the inside of the case with the input shaft (4th gear).


Next job was to remove the countergear assembly from the case. I used my press to press the countershaft out, making sure to press from the front of the case out the rear. The picture above shows everything removed. When I removed the countershaft and countergear from the case, the needle bearings and spacers poured out everywhere which not a problem because the rebuild kit comes with all new ones. It's just very messy. Shown above is the countergear, countershaft, spacer tube, spacers, thrust washers and pile of needle bearings.


After inspecting the hub/slider assemblies, I found that both the hub and sliders showed some damage and wear. Therefore these will need to be replaced.


Next I used walnut shells to blast the case, tailhouse, and side cover. The picture on the left shows everything after blasting and cleaning. I also laid out the parts from the rebuild kit that I had ordered. The parts in the rebuild kit included everything that would be expected to wear: front and rear bearings, tail bushing and seal, synchronizer rings, countershaft, the springs and keys for the slider/hub assemblies, needle bearings, seals, snap rings, thrust washers and gaskets. On top of the rebuild kit I am replacing the hub/slider assemblies, and shifter forks.
No comments:
Post a Comment