Today I picked up my package that I had ordered from Summit Racing.com. Just like a kid on christmas morning I came home and opened everything up and took pictures.
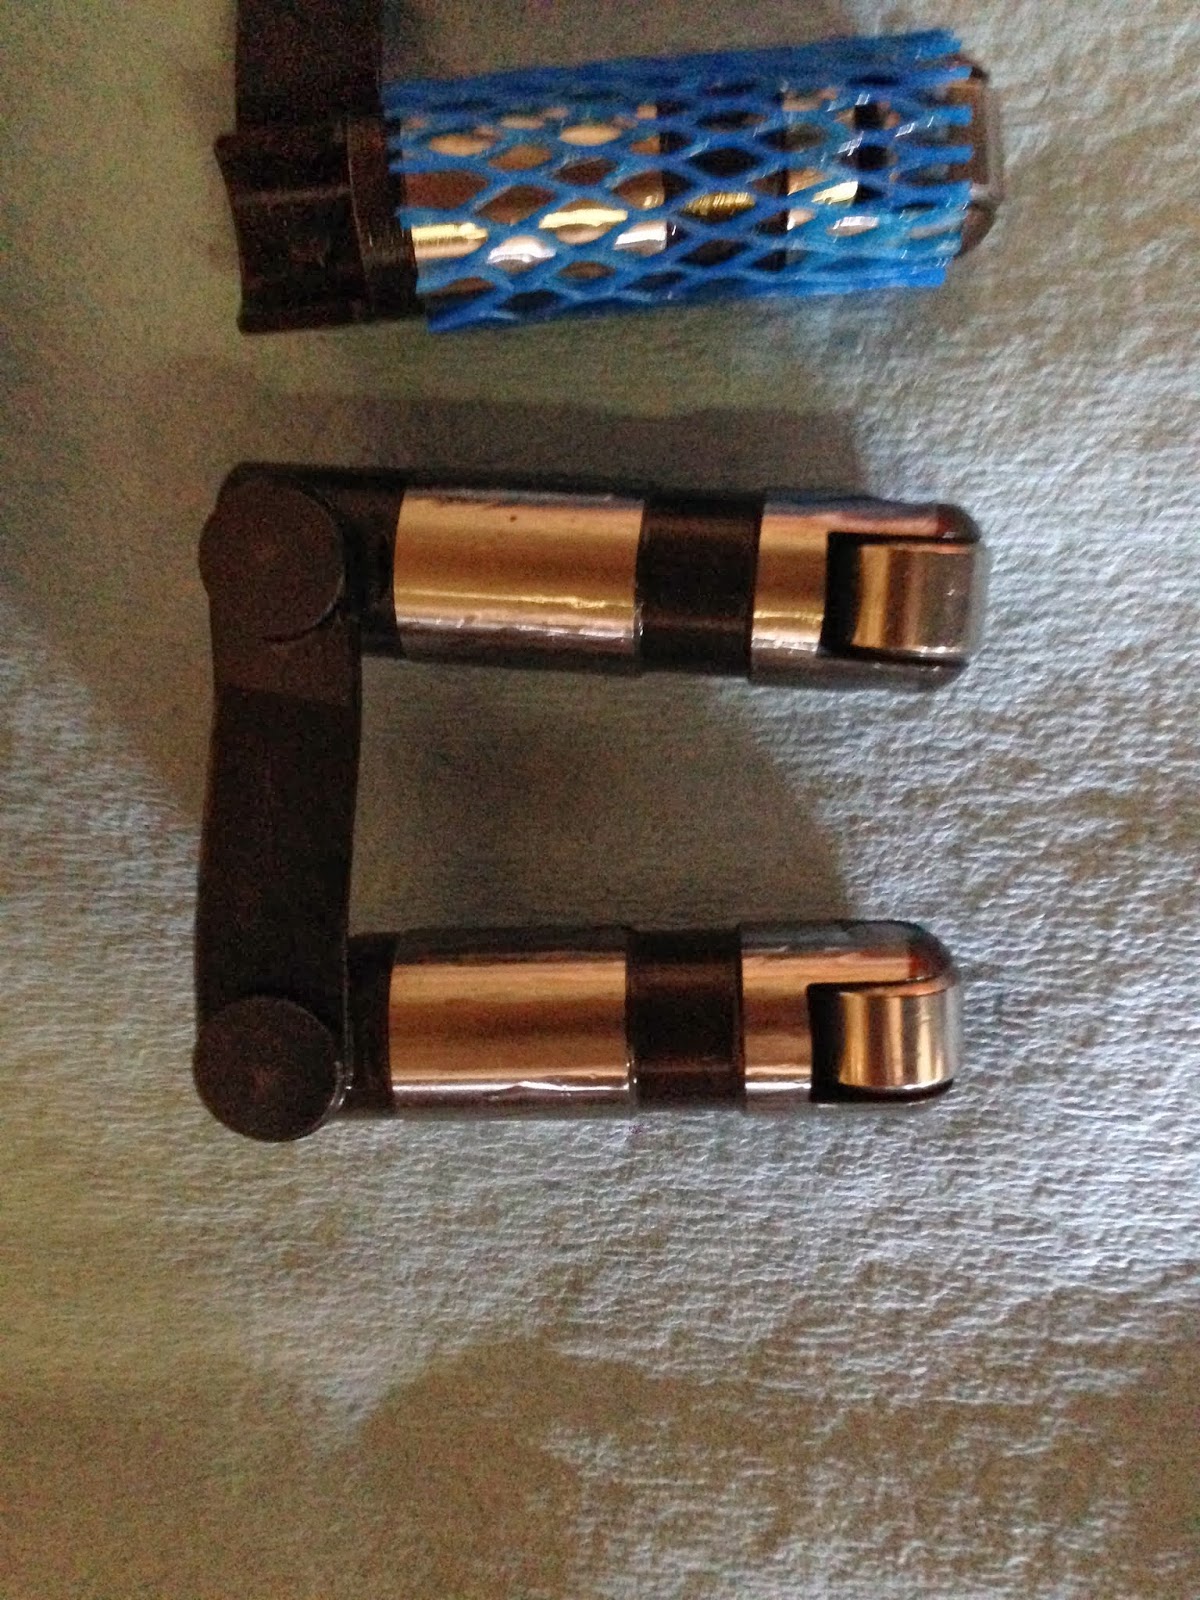
This is a set of Comp Cams aluminum 1.7 ratio roller rockers.
In the top box is a set of ARP cylinder head bolts specifically designed for my Edelbrock Performer RPM heads. On the right is a rear main oil seal from Fel-Pro. On the left is a cam bolt set and locking tab. These bolts secure the timing gear to the camshaft. I don't really get why these bolts weren't supplied with my cam. I had to buy them separate. The package on the bottom middle is the oil filter adapter.
These are the head gaskets I will be using from Fel-Pro.
Some of the last items were just some more tools. A valve spring compressor tool - which I will be using to swap out the valve springs on my head (at the #1 cylinder) and replacing them with light weight checking springs (pictured in middle). These light weight springs are used when taking some of the pre-assembly measurements (cam degreeing, piston to valve clearances, push rod length) before final assembly. They are needed because I am using hydraulic lifters in my engine. Hydraulic lifters, under normal engine running conditions, have a plunger inside them that is pressurized with motor oil. Without the engine running when I am doing these checks the plunger will just collapse under the pressure of the normal springs. That is why the light weight springs are swapped in place- to allow me to turn the engine over by hand without the lifter plungers collapsing, providing me with accurate results. I will go more into detail about this later.
Also below is a tapered piston ring compressor tool, crankshaft turning socket and a pair of connecting rod bolt protectors.
The bottom picture is a degree wheel, used when degreeing the camshaft.
Tuesday, February 11, 2014
Sunday, February 9, 2014
Engine
I haven't posted on here for awhile because I haven't really done much out in the garage in the last few months, I have just been reading books on engine building and building up my parts inventory for my engine build. Well I can say now that I have almost all my parts for the engine. I am just waiting on spring weather to start on the engine build. My garage is not insulated (going to insulate it this year) so it is VERY cold. I didn't think it would be a good idea to make measurements on the engine and parts in this cold weather as this can throw the accuracy of my tools and measurements off.
In this post I'll show some of parts that I will be using for the engine build.
Here is the block a few years ago when I bought it. The only work that had been done to it was the cylinders were bored out to match the pistons that I purchased with the block. The block was bored 0.030" over. 454 block bored 0.030" makes this a 460 cubic inch beast!
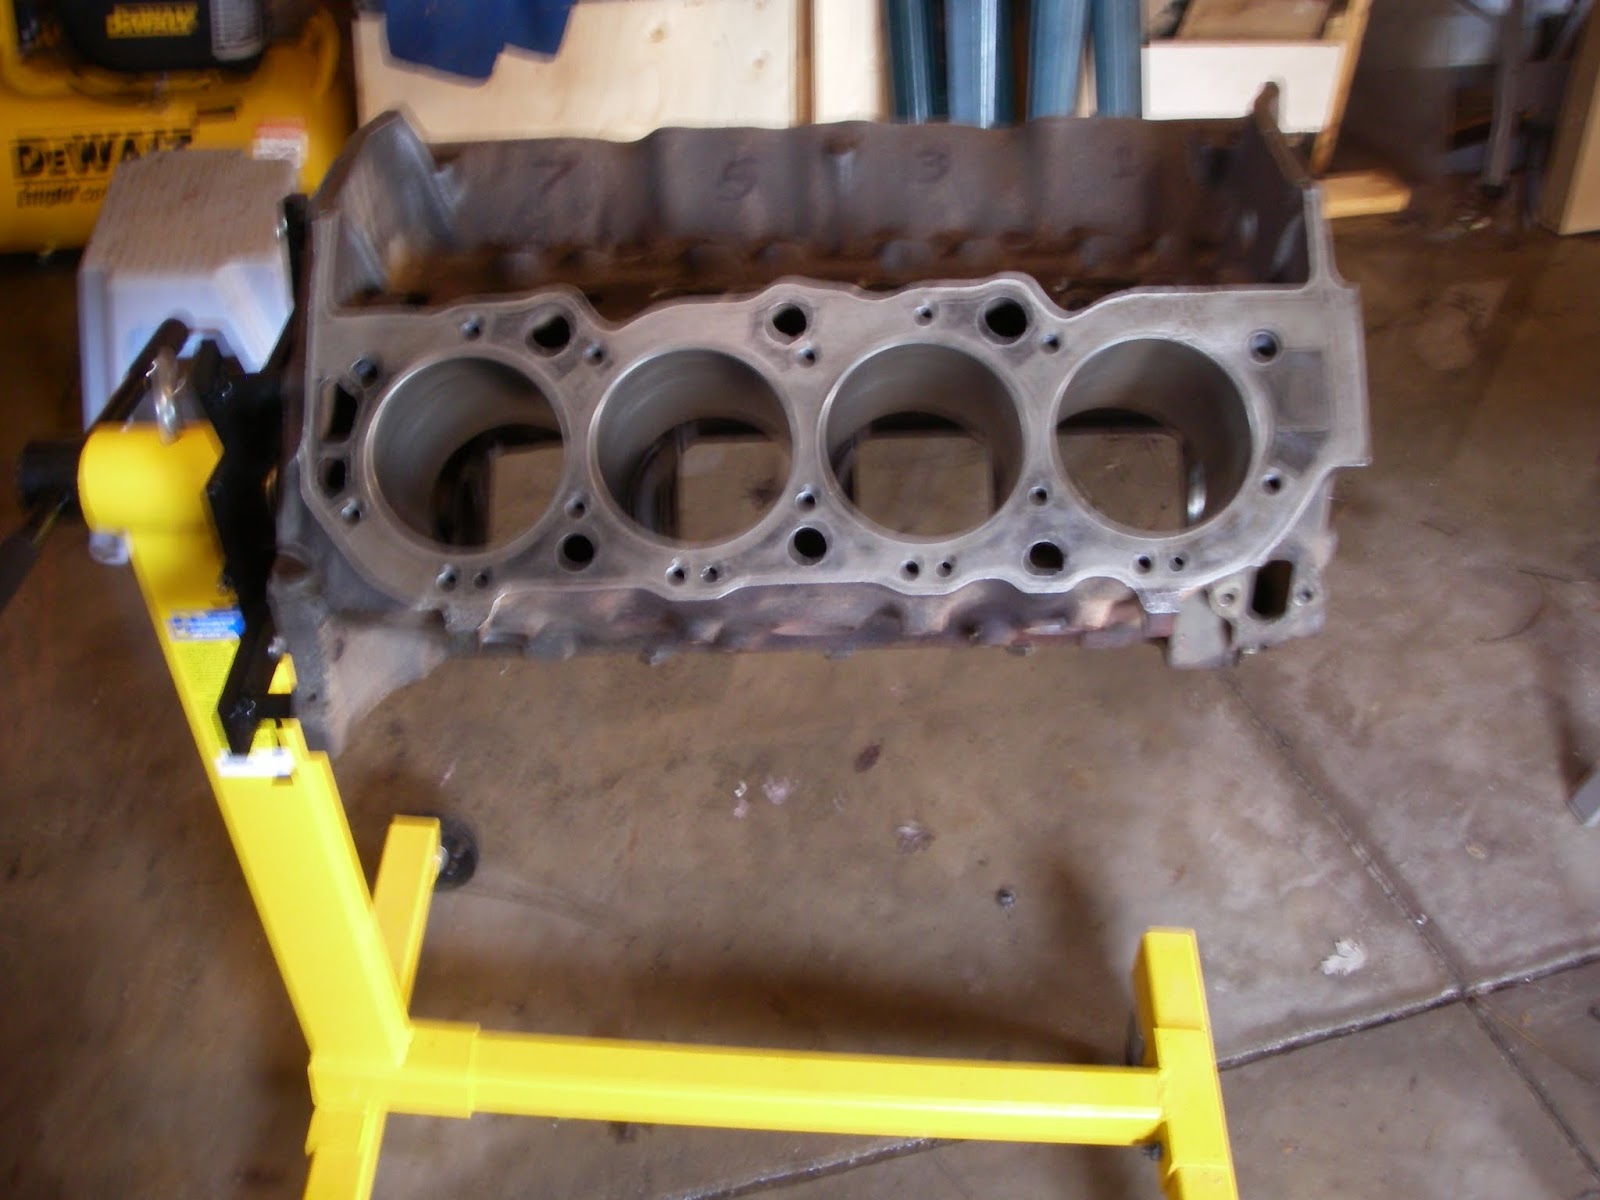
I brought my block and rotating assembly into Atchison Machining in London, Ontario. Here I had them look over everything and do whatever was needed to get it ready for assembly. The Block, Crank and Rods were all magnafluxed. This checks for cracks/flaws, and everything checked out good. The block was decked to clean up the mating surface between the block and heads. The main journals were alignhoned to make sure they were perfectly straight. The rotating assembly (Crank, Rods, Pistons, Flywheel, Balancer) were all balanced. The crank was ground down .010" on the main journals and rod journals, to clean it up and get it in spec. When I got it home I painted the block "Chevy Orange" with POR15 paint. I am actually going to repaint this Red to match the Chevelle's suspension and brakes.
This is the Eagle forged crankshaft. The crankshaft being forged is a little overkill as this motor will never see the horsepower levels that justify using a forged crankshaft, but I purchased it used along with the rods, balancer, flywheel, bearings. so it came with the package, and it just sounds cooler doesn't it?.....
All the journals were ground 0.010" to clean them up.
For the connecting rods I got my hands on some Eagle forged H beam rods. These rods are the stock 454 length at 6.135". They have a floating wrist pin, which means they aren't pressed onto the piston, but are held in place with spiral locks.
The Pistons were purchased along with the block because they were machined to match the bore in the block. They are Keith Blacks 0.030" overbore hypereutectic aluminum pistons.
For piston rings I got a set of "file to fit" speed pros. I placed them in each cylinder one at a time and filed them to get a top ring gap of 0.028" and 2nd ring gap of 0.018"(I will double check these before final assembly), these were the gaps that were recommended to me from Keith Black. Each set of rings were bagged and labelled for each specific cylinder.
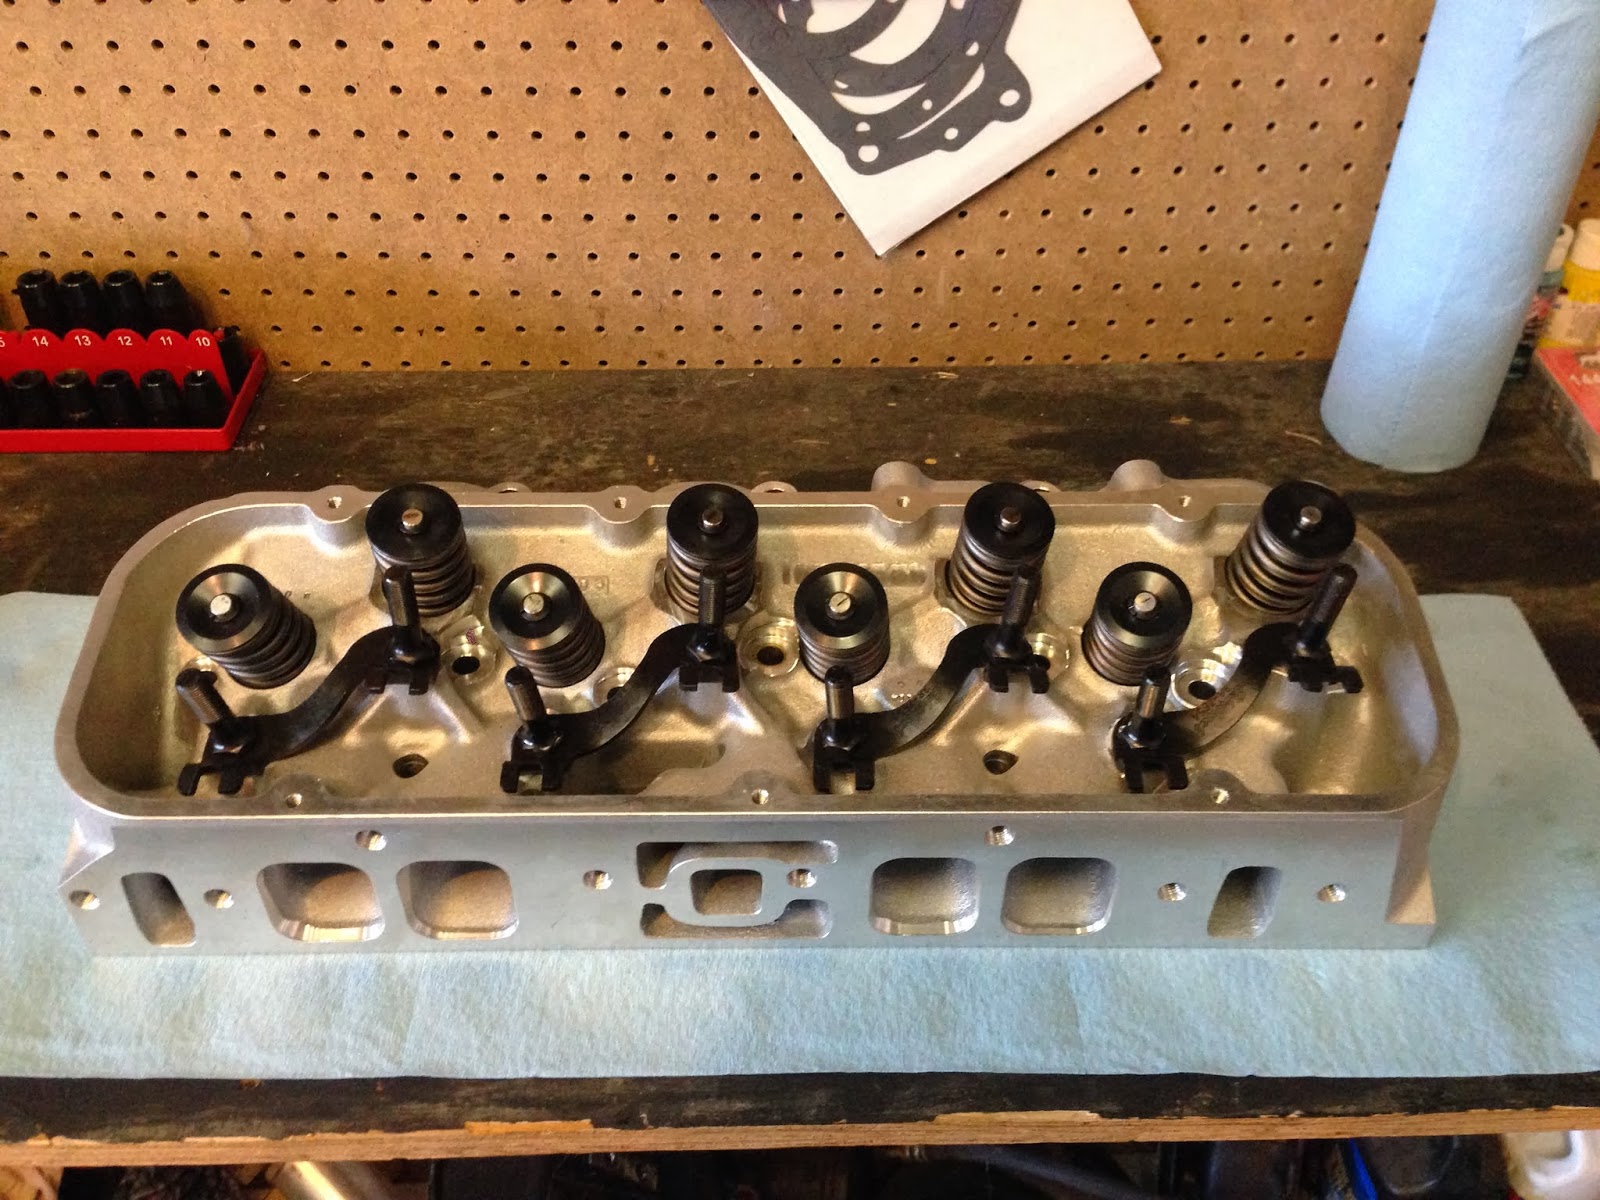
For cylinder heads I got a set of Edelbrock Performer RPM's. They came preassembled with valvesprings, and 2.19" intake and 1.88" exhaust valves. I actually ordered the wrong heads. These heads were set up with valvesprings for a hydraulic flat tappet camshaft. To fix this I sent the heads into the machine shop and they installed shims which brought the spring pressures into range for a hydraulic roller camshaft. I'm very glad that I caught that mistake as that error could have caused major problems down the road.
For camshaft I picked up Comp Cams XR294 hydraulic roller kit. This kit included cam, hydraulic roller lifters and double roller timing set. This cam will make plenty of power in this engine.
During the last few months I've also been building up my inventory of engine building tools. I got myself a dial bore gauge, this will come in handy with measuring bores and clearances. I got myself some micrometers. I got myself a magnetic base with a dial gauge. I also got myself a new tourque wrench.
I also placed an order with Summit Racing for some more parts last night. I will have another post when I get my package.
Saturday, December 14, 2013
Rear Suspension
Today I was able to finish installing the rearend and suspension on to the frame.
Heres a pic of the rubber insulators that were installed on top of the coil springs. They are used to cut down on squeaking springs when hitting bumps.
Here is some pics of everything all bolted up. The bolts on the Lower Trailing arms and the upper control arms were not tightened and torqued because they need to be loaded with the full vehicles weight before they are to be torqued up. so I made a note that these will need to be torqued after the car is all back together.
The UMI suspension kit that I got has a rear sway bar that was not in the original chevelle suspension. This will hopefully hold the rear end and body to the road when cornering.
I also took this time to fill the rear end up with some oil. I used some 80w-90 gear oil along with the Limited Slip additive needed for my posi unit.
It's starting to look like a rolling frame again. Next is fuel and brake lines
Heres a pic of the rubber insulators that were installed on top of the coil springs. They are used to cut down on squeaking springs when hitting bumps.
The UMI suspension kit that I got has a rear sway bar that was not in the original chevelle suspension. This will hopefully hold the rear end and body to the road when cornering.
I also took this time to fill the rear end up with some oil. I used some 80w-90 gear oil along with the Limited Slip additive needed for my posi unit.
It's starting to look like a rolling frame again. Next is fuel and brake lines
Monday, November 25, 2013
Front Suspension
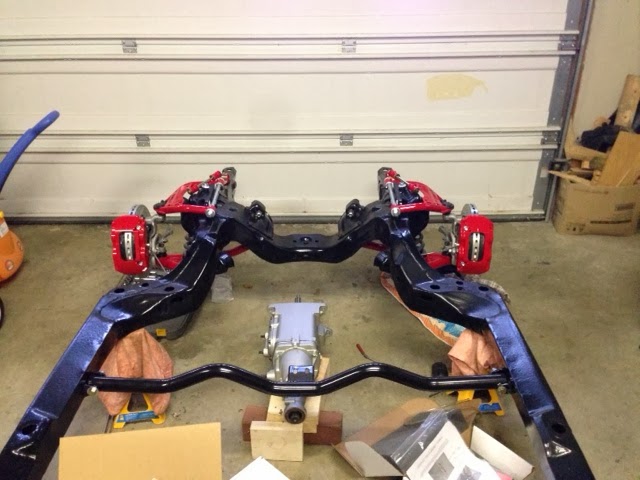
Today I was able to finish the passenger side suspension and brakes. Here are some pics of both sides done. I am really happy with the look so far.
Friday, November 22, 2013
Front Suspension and Brakes Install Started
Today I spent some time in the garage, I started installing the front suspension and brakes on the drivers side. The biggest problem I ran into was compressing the spring, and placing it up in the correct position in the spring perch. It took a few tries and quite a bit of maneuvering of the spring until I finally got it in the right spot. The springs were new hotchkis springs. The shocks are bilstein, that came with my suspension kit from UMI Performance. The Baer Track 4 brake kit went together fairly easily using the included instructions.
Hotchkis spring and bilstein shock, upper and lower UMI suspension A arms
With the Baer Track 4 brake kit I was able to reuse the original factory drum spindles. I sandblasted the spindles and gave them a couple coats of aluminum coloured paint
The Baer kit came with a new hub assembly that was all ready to go and prepacked with grease.
The Front Driver side front suspension and brakes are all together, tourqued and ready to go. Now I need to do the same on the passenger side.
Hotchkis spring and bilstein shock, upper and lower UMI suspension A arms
With the Baer Track 4 brake kit I was able to reuse the original factory drum spindles. I sandblasted the spindles and gave them a couple coats of aluminum coloured paint
The Baer kit came with a new hub assembly that was all ready to go and prepacked with grease.
The Front Driver side front suspension and brakes are all together, tourqued and ready to go. Now I need to do the same on the passenger side.
Rear Brakes
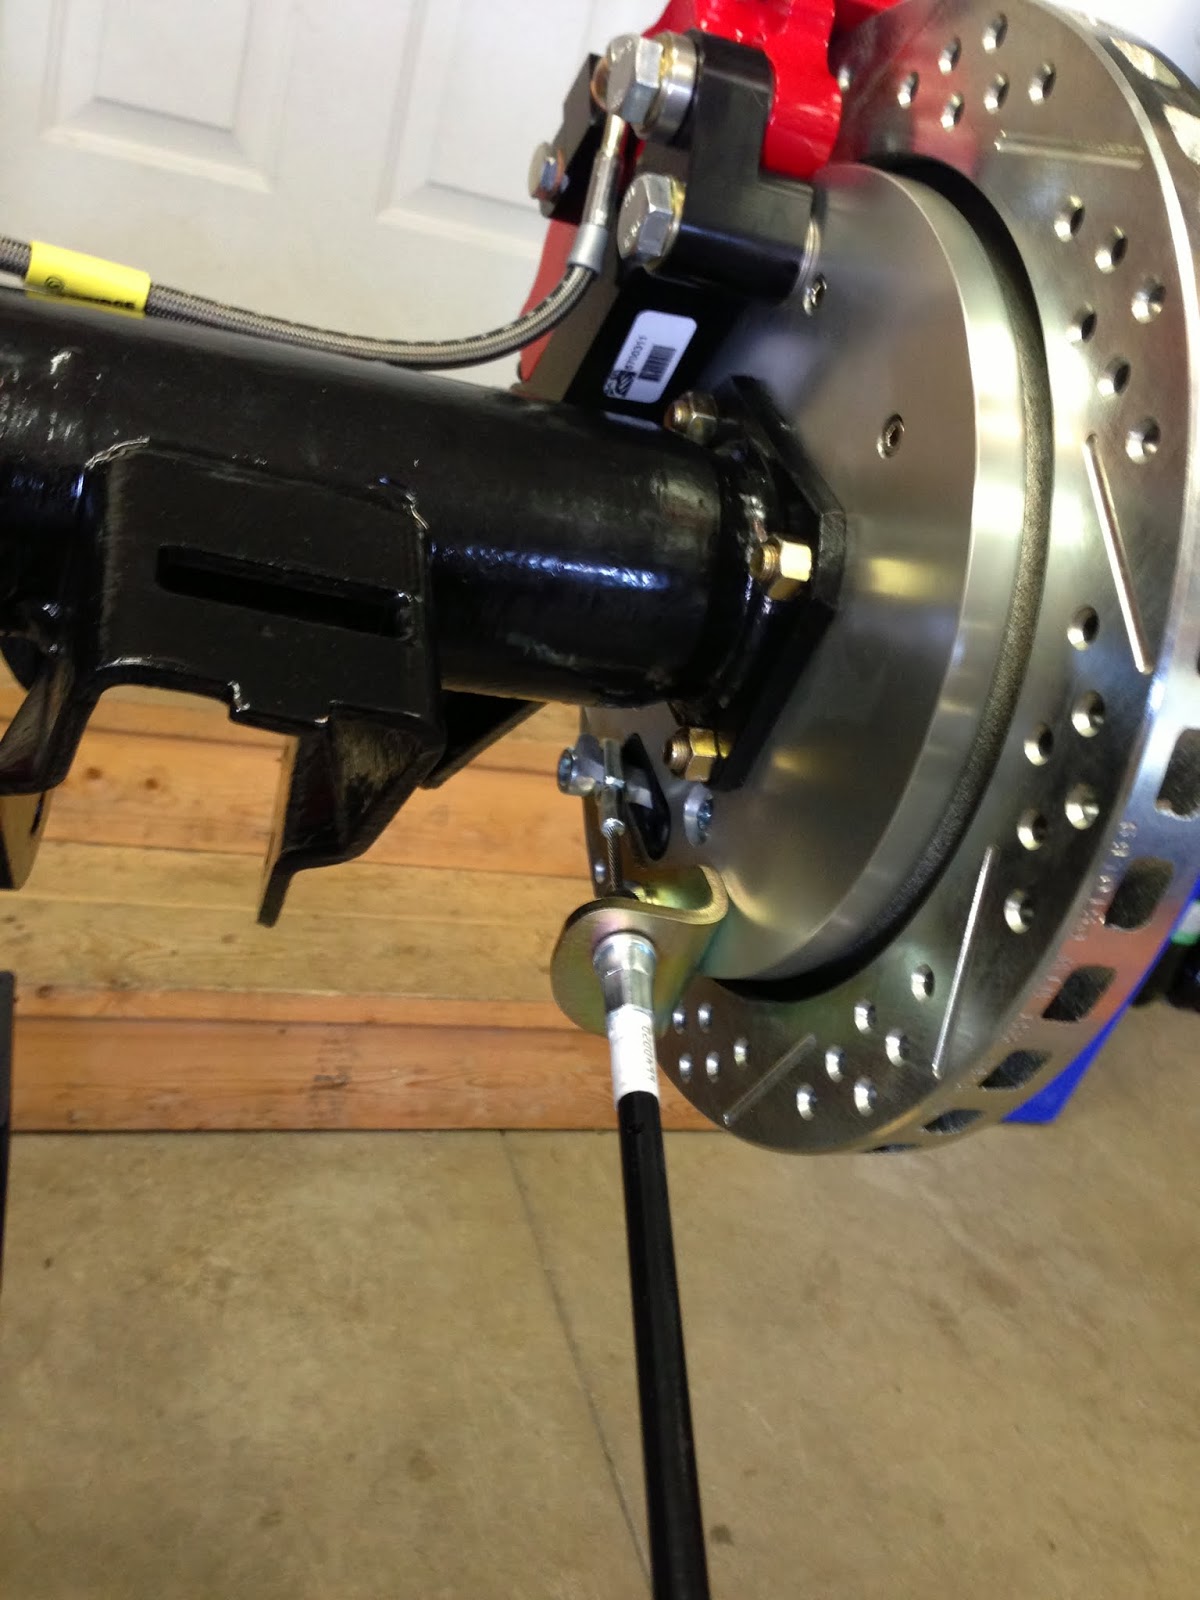
In September I was able to find sometime to work in the garage. I decided to put together the rear brakes. It was fairly straight forward when using the instruction manual that came with the Baer SS4 rear brake kit.
I had to remove the axles in order to bolt the brake faceplates on
axles reinstalled in rearend
Parking brake cable
Here is the rearend all finished, all I need to do is fill with oil and its ready to be bolted up to the frame
I had to remove the axles in order to bolt the brake faceplates on
axles reinstalled in rearend
Parking brake cable
Here is the rearend all finished, all I need to do is fill with oil and its ready to be bolted up to the frame
Subscribe to:
Posts (Atom)